Get More Bang for Your Buck - Buy Three, Snag Two Free!
Get 2 sewing patterns for free when you add 5 into your cart. Discount applied automatically during checkout
✦ Fresh Patterns Sent to Your Email Monthly ✦
Join the CosPatreon for your pick of monthly patterns, behind the scenes looks exclusive voting power on our next products, first dibs on commissions, and more!
✦ Con Crunch? Who's that! ✦
Don't get caught sewing at 3am the night before the con... Get everything you need for your dream cosplay NOW!
Sew Intimidated?
Don't worry, our patterns are made with amateur seamsters in mind!
Check Out What's New!
-
Senshi Helmet PDF EVA Foam Cosplay Pattern | Delicious in Dungeon/Dungeon Meshi Inspired Printable Costume Pattern
Regular price $7.00 CADRegular priceUnit price / per -
Laios Touden Breastplate and Gauntlets PDF Cosplay Pattern | Delicious in Dungeon/Dungeon Meshi Inspired Printable Costume Pattern
Regular price $12.00 CADRegular priceUnit price / per -
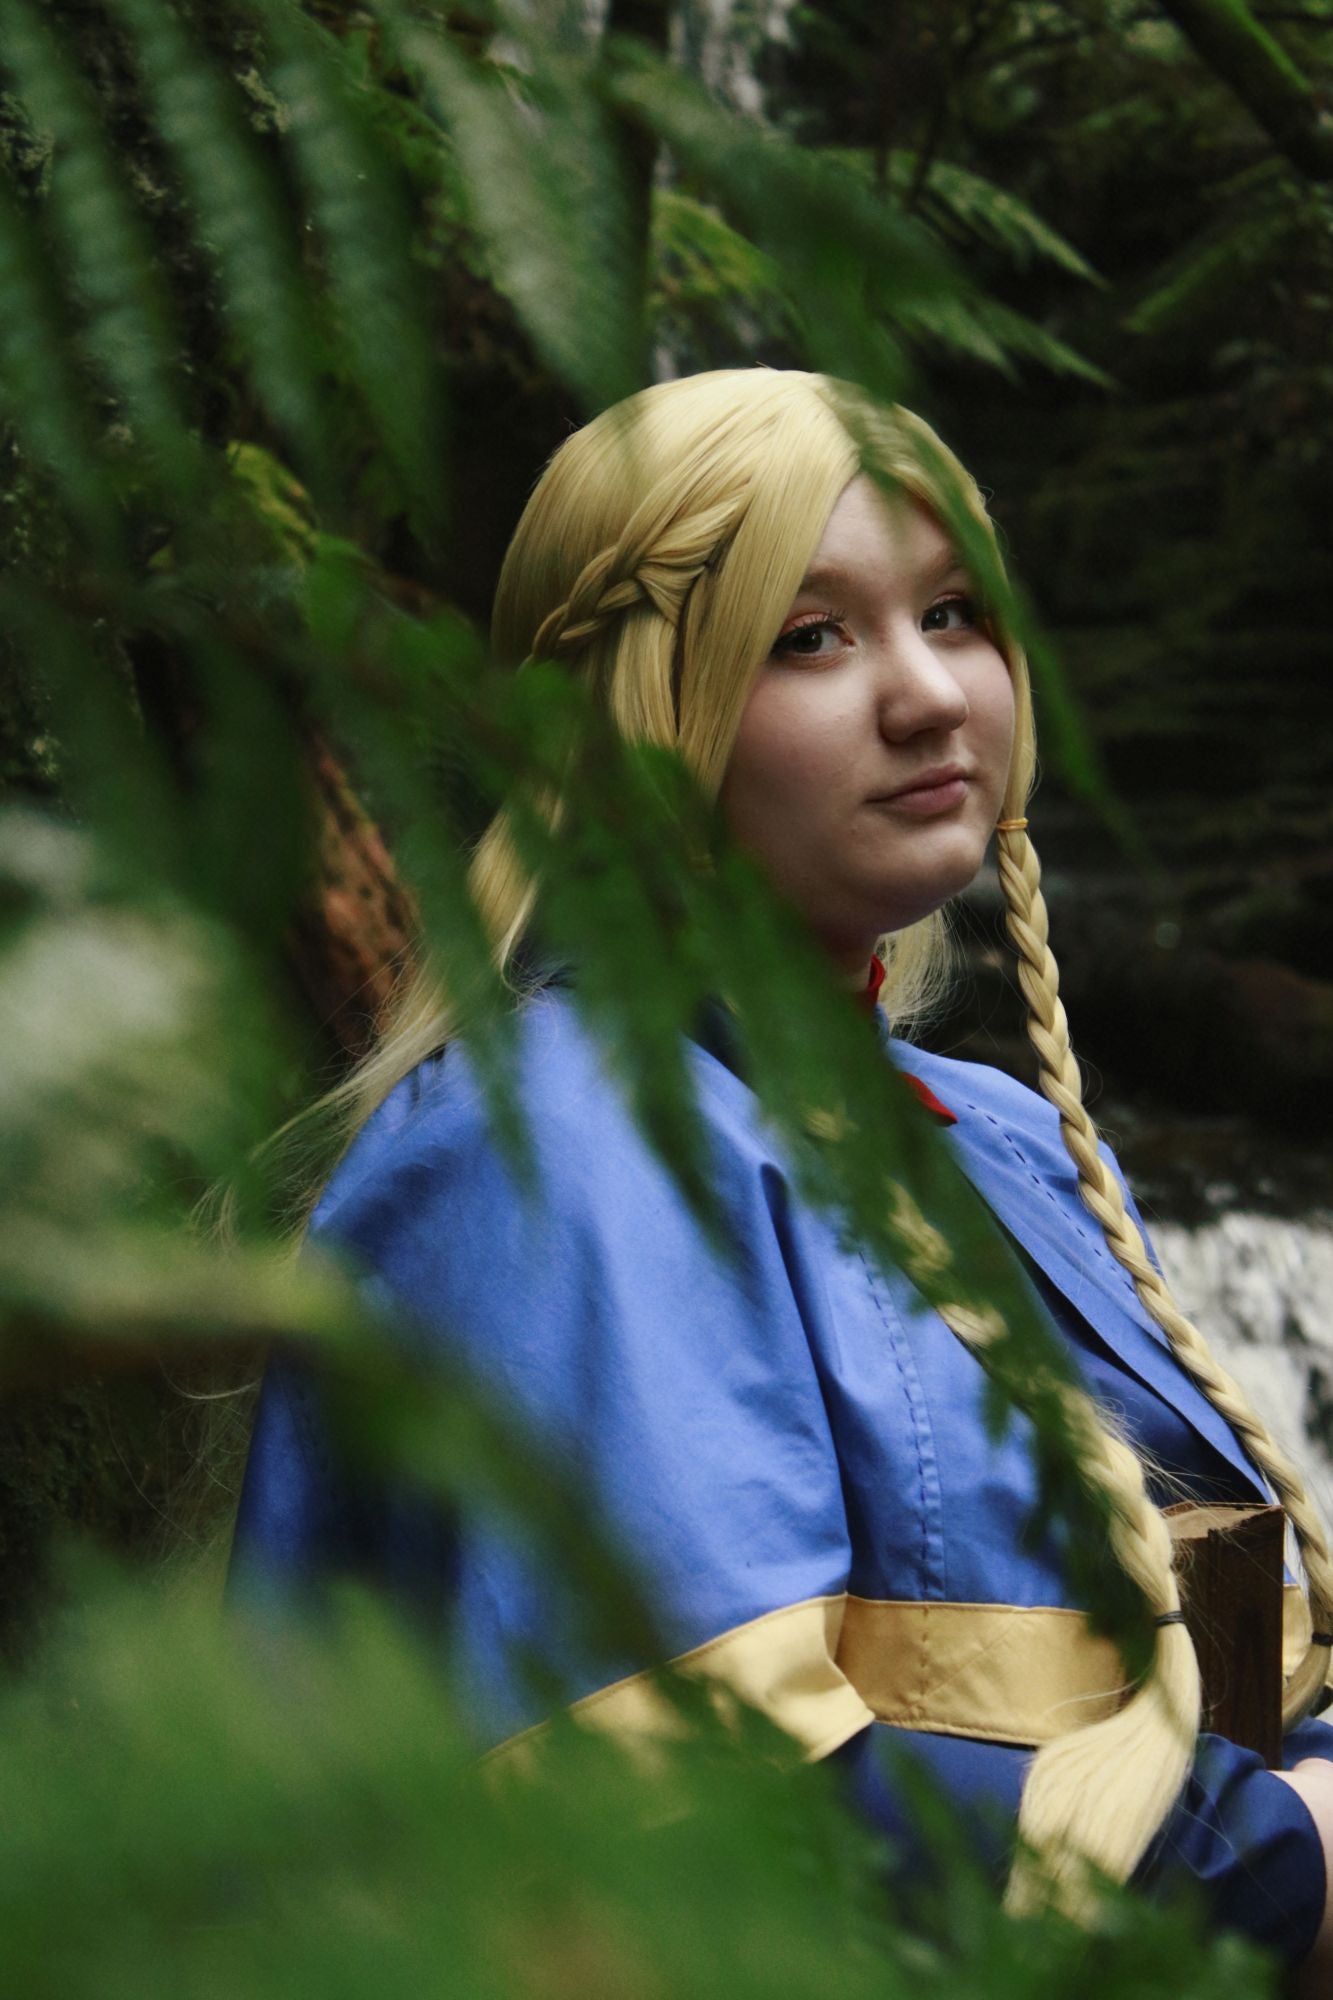
Marcille Donato and Falin Touden Cosplay Sewing Pattern Pack | Delicious in Dungeon/Dungeon Meshi Inspired Printable Costume Pattern
Regular price $25.00 CADRegular priceUnit price / per -
Falin Touden Jacket, Undershirt, and Tunic PDF Cosplay Pattern | Delicious in Dungeon/Dungeon Meshi Inspired Printable Costume Pattern
Regular price $14.00 CADRegular priceUnit price / per
Check out the full-colour B-grades!
Fazcam 3D Printed Kit for Cosplay | Inspired by Five Nights at Freddy's: Security Breach
Happy Customers
Products in our Catalogue
5 Star Reviews
Let customers speak for us
from 14 reviewsVery easy to read and well put together!
Disclaimer: I used cardboard to build my helmet.
I loved the pattern. Even as someone who has never worked with patterns before, I could understand it well. It makes a good helmet.
Here are some notes I wrote down while working:
- You can make this out of cardboard if EVA foam is not on hand! Which I think is cool.
- The helmet is bigger than you would expect and not fitting to the head. This helps when you have a beard and wig but just make a paper pattern to see how it fits first and if you want to make adjustments for your needs.
- When putting the horn patterns together, make one horn mirrored. This helps the look of the helmet since they'll point in opposite directions and be more like the original (if they point in the same direction it will be e.g. your horns all pointing to the right, which isn't as aesthetically pleasing as having it mirrored).
- For joining the base pieces together don't cut out the dip at the top (I don't know if this is different for EVA foam). It leaves a gap at the top of the helmet. Instead, just cut straight then continue the curve, or find a way to fill the gap.
- I made my helmet bevel wider than the pattern to balance out the look for myself.
- If you keep the helmet as separate jaw and head pieces, as mentioned before it is big and will slide around. You can either add a way to slot the pieces together or you can use a strap (like how biking helmets have straps) to tie the top to your head. Or just join the pieces together as the pattern instructs.
- Note that the A4 size pattern is labelled "Senshi Horns - A4". Not a big deal but had me confused for a hot minute.
Otherwise, it's at a good price and allows you to make a solid piece. I would recommend it.
The pattern fits my size and is easy to use
Hi, thank you for this pattern, it was very helpful and saved me a lot of time prototyping and all.
I just have a tiny "but" to write : I wish you wrote "Cut x2 mirrored" for the Lower Jaw, Lower Side and Helmet Bevel instead of "cut x1 on fold", like you did for the Helmet Base. It would have been clearer (for me at least).
Otherwise it's an awesome pattern, thanks again for taking time to make it, and save us time ! :)
haven't had time to make everything, but im about halfway through my marcille mockup and the pattern is coming together perfectly!
The pattern was very easy to follow! Very clear instructions on how things should go together along with amazing outcome! I got this for my boyfriend costume to put it together for him for comic con and it was the perfect thing! While, I’m still not done The base has come together excellently and I will still be starting on painting everything and adding finishing touches definitely worth the money!
I am currently making a Fearne cosplay and I was struggling with the design on the skirt. I found this template and it was perfect! You have saved so much time and mental stress!
Wonderful product!!! I love the details with the cupcake and it was so easy to sand and paint!!
I really like this patch, the stitching is great for the price!
Dope as hell!!!!!!! Payton is awesome
Perfect fabric! Sturdy and bright it was perfect for my sun and moon cosplay