


Saja Boys Light Stick 3D Printed Kit for Cosplay | Inspired by KPop Demon Hunters
Saja Boys Light Stick 3D Printed Kit for Cosplay | Inspired by KPop Demon Hunters
Couldn't load pickup availability
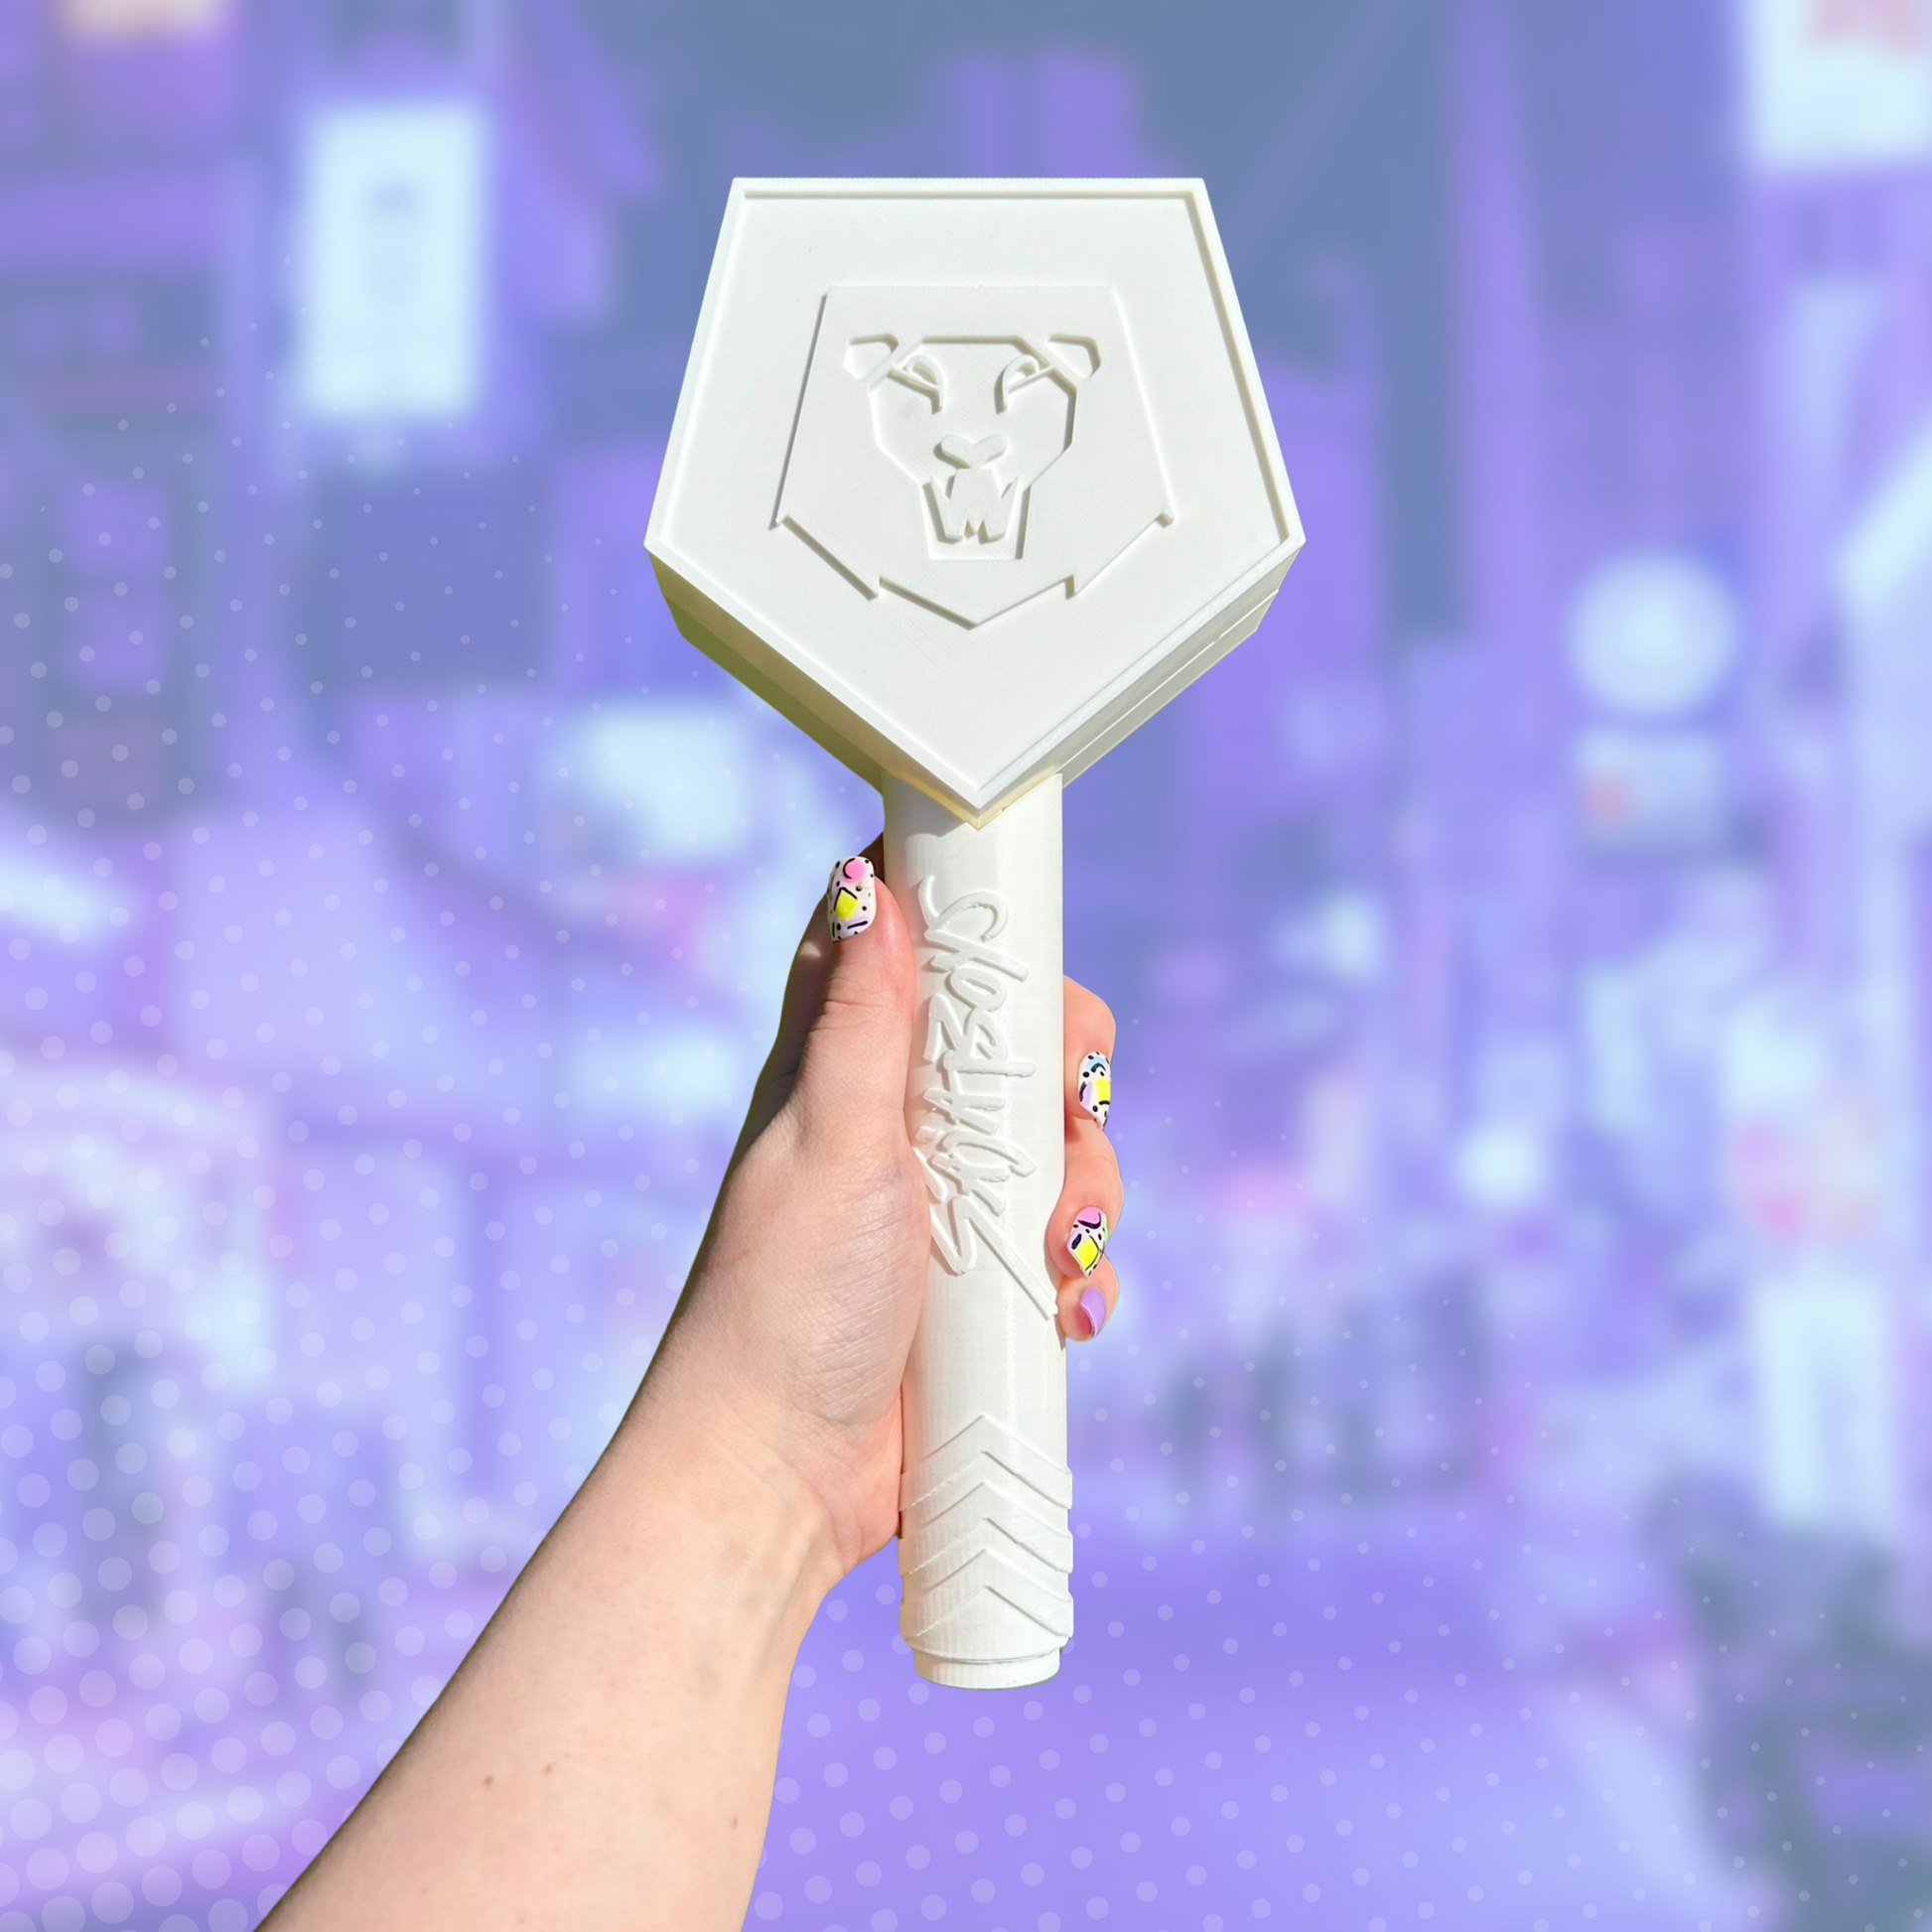
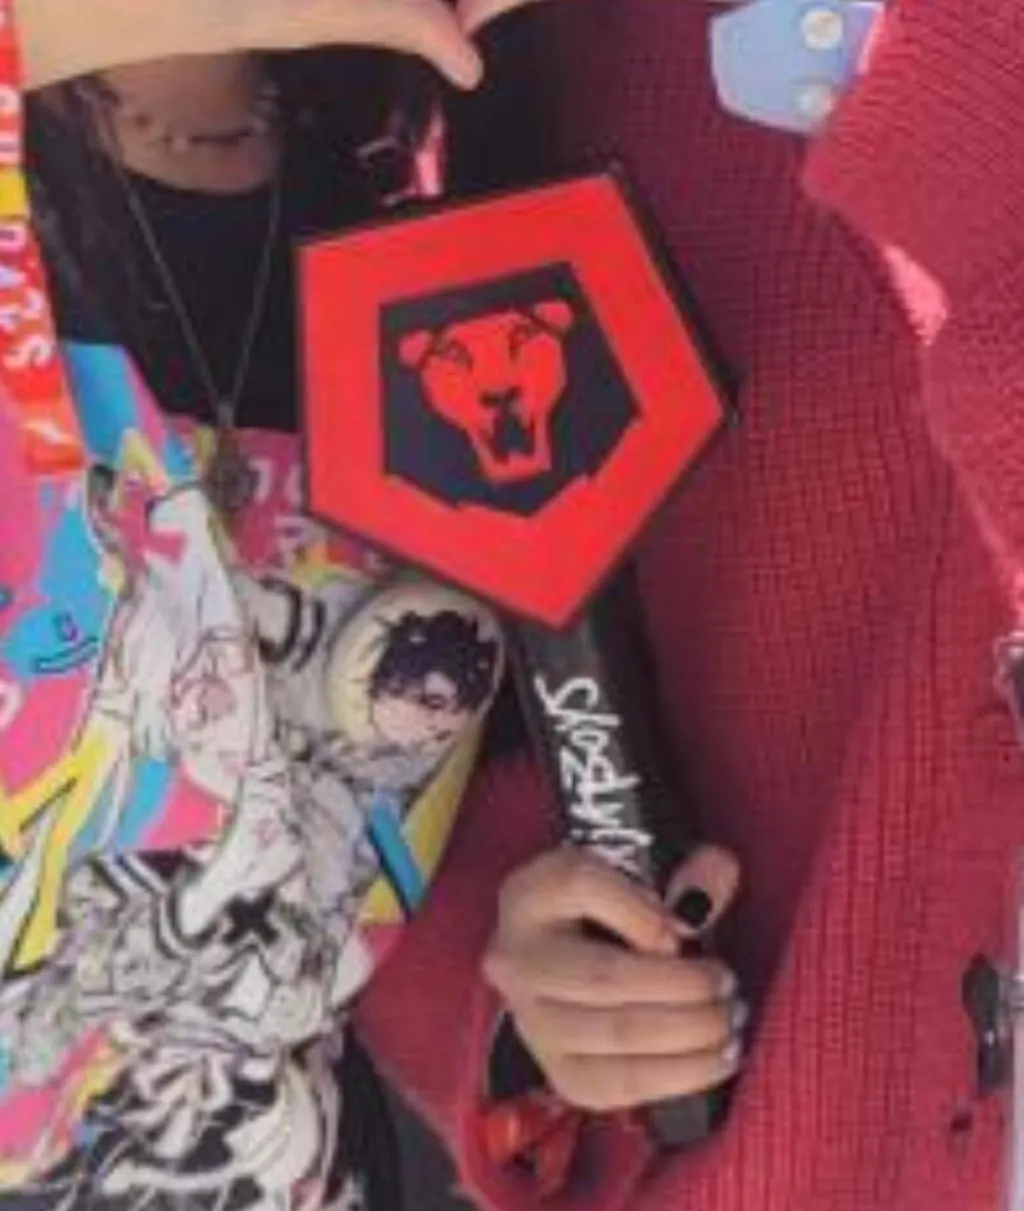
Take your cosplay and fandom to the next level with a 3D printed kit for the Saja Boys' lightstick, inspired by KPop Demon Hunters. Intended as an accessory to cosplay, a gift for a fan in your life, or a display piece to showcase your creativity and fandom.
✦ WHAT YOU GET:
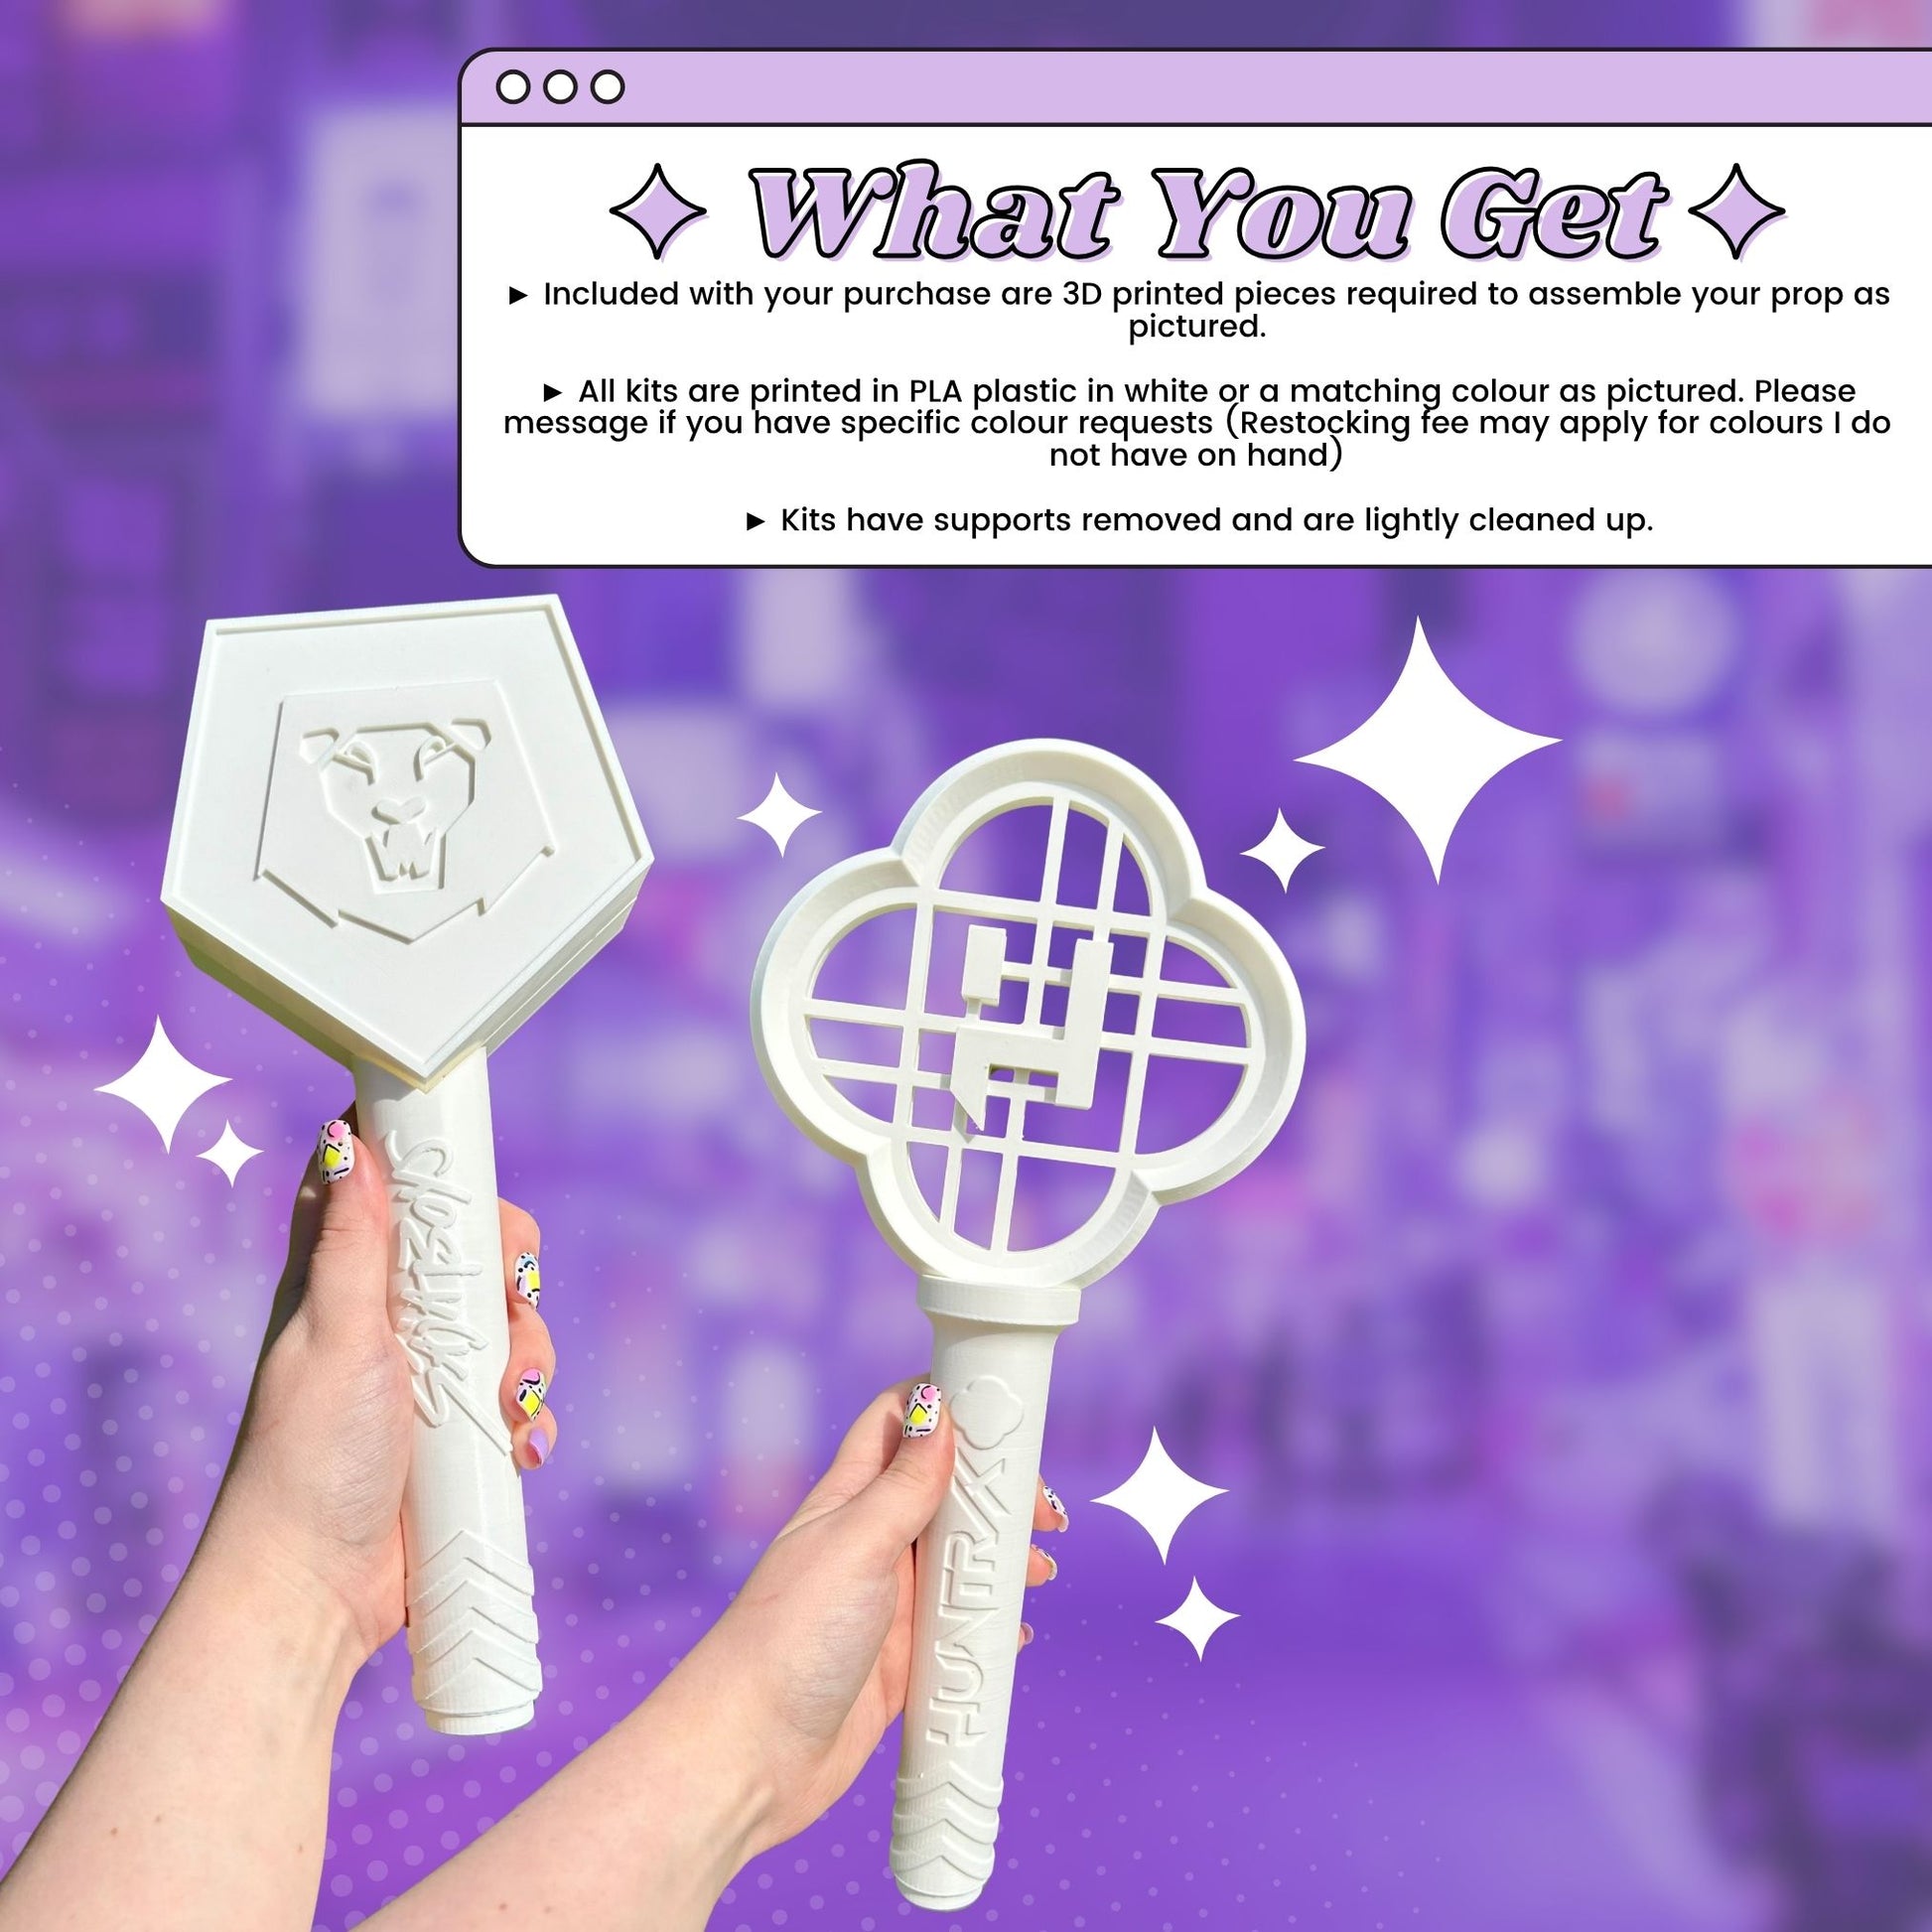
► Included with your purchase are 3D printed pieces required to assemble your prop as pictured.
► All kits are printed in PLA plastic in white or a matching colour as pictured. Please message if you have specific colour requests (Restocking fee may apply for colours I do not have on hand)
► Kits have supports removed and are lightly cleaned up.
NOTE: Kits are unpainted, unsanded, and unassembled. They will require assembly to become a finished prop. Paint, glue, and other materials are not included.
✦ PLEASE NOTE:
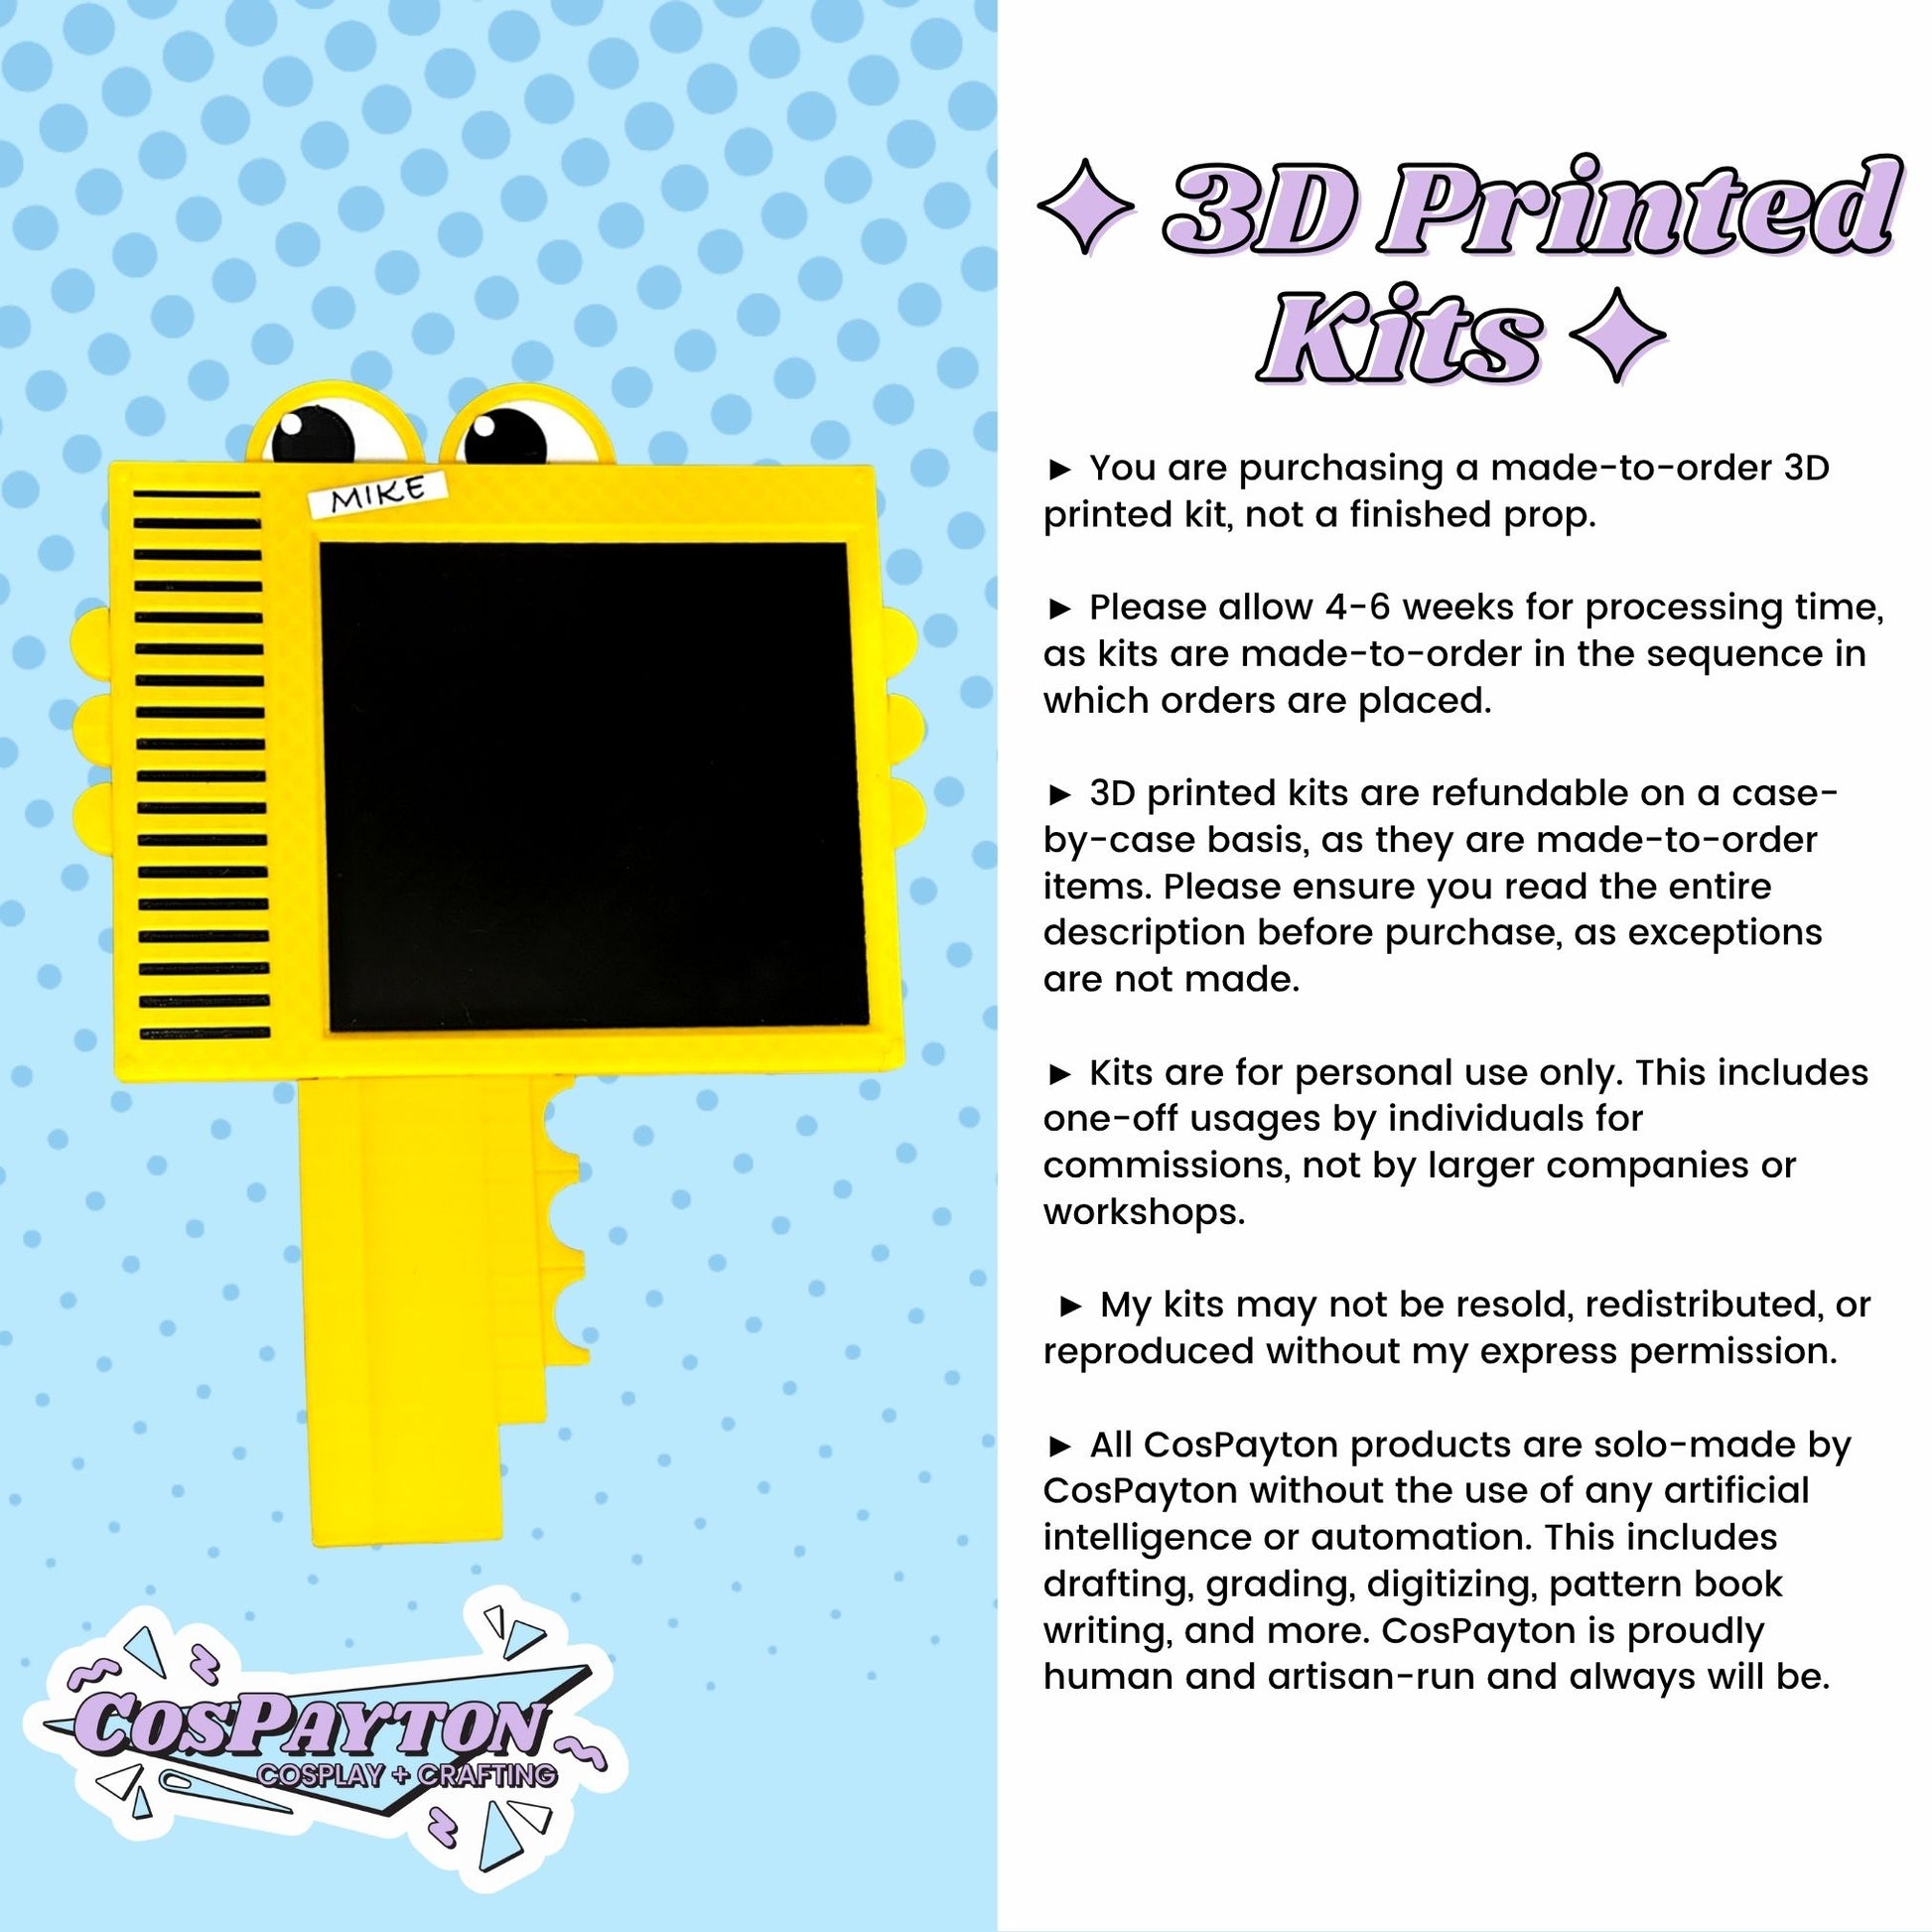
► You are purchasing a made-to-order 3D printed kit, not a finished prop.
► Please allow 4-6 weeks for processing time, as kits are made-to-order in the sequence in which orders are placed.
► 3D printed kits are refundable on a case-by-case basis, as they are made-to-order items. Please ensure you read the entire description before purchase, as exceptions are not made.
► Kits are for personal use only. This includes one-off usages by individuals for commissions, not by larger companies or workshops.
► My kits may not be resold, redistributed, or reproduced without my express permission.
► All CosPayton products are solo-made by CosPayton without the use of any artificial intelligence or automation. This includes drafting, grading, digitizing, pattern book writing, and more. CosPayton is proudly human and artisan-run and always will be.
If you are confused or have any other issues with your product, please visit https://cospayton.com/pages/faq for frequently asked questions.
You can also reach out at cospayton@gmail.com. I pride myself on providing one-on-one support where possible and am happy to guide you through wherever you may have gotten stuck.
✦ FINISHING YOUR KIT:
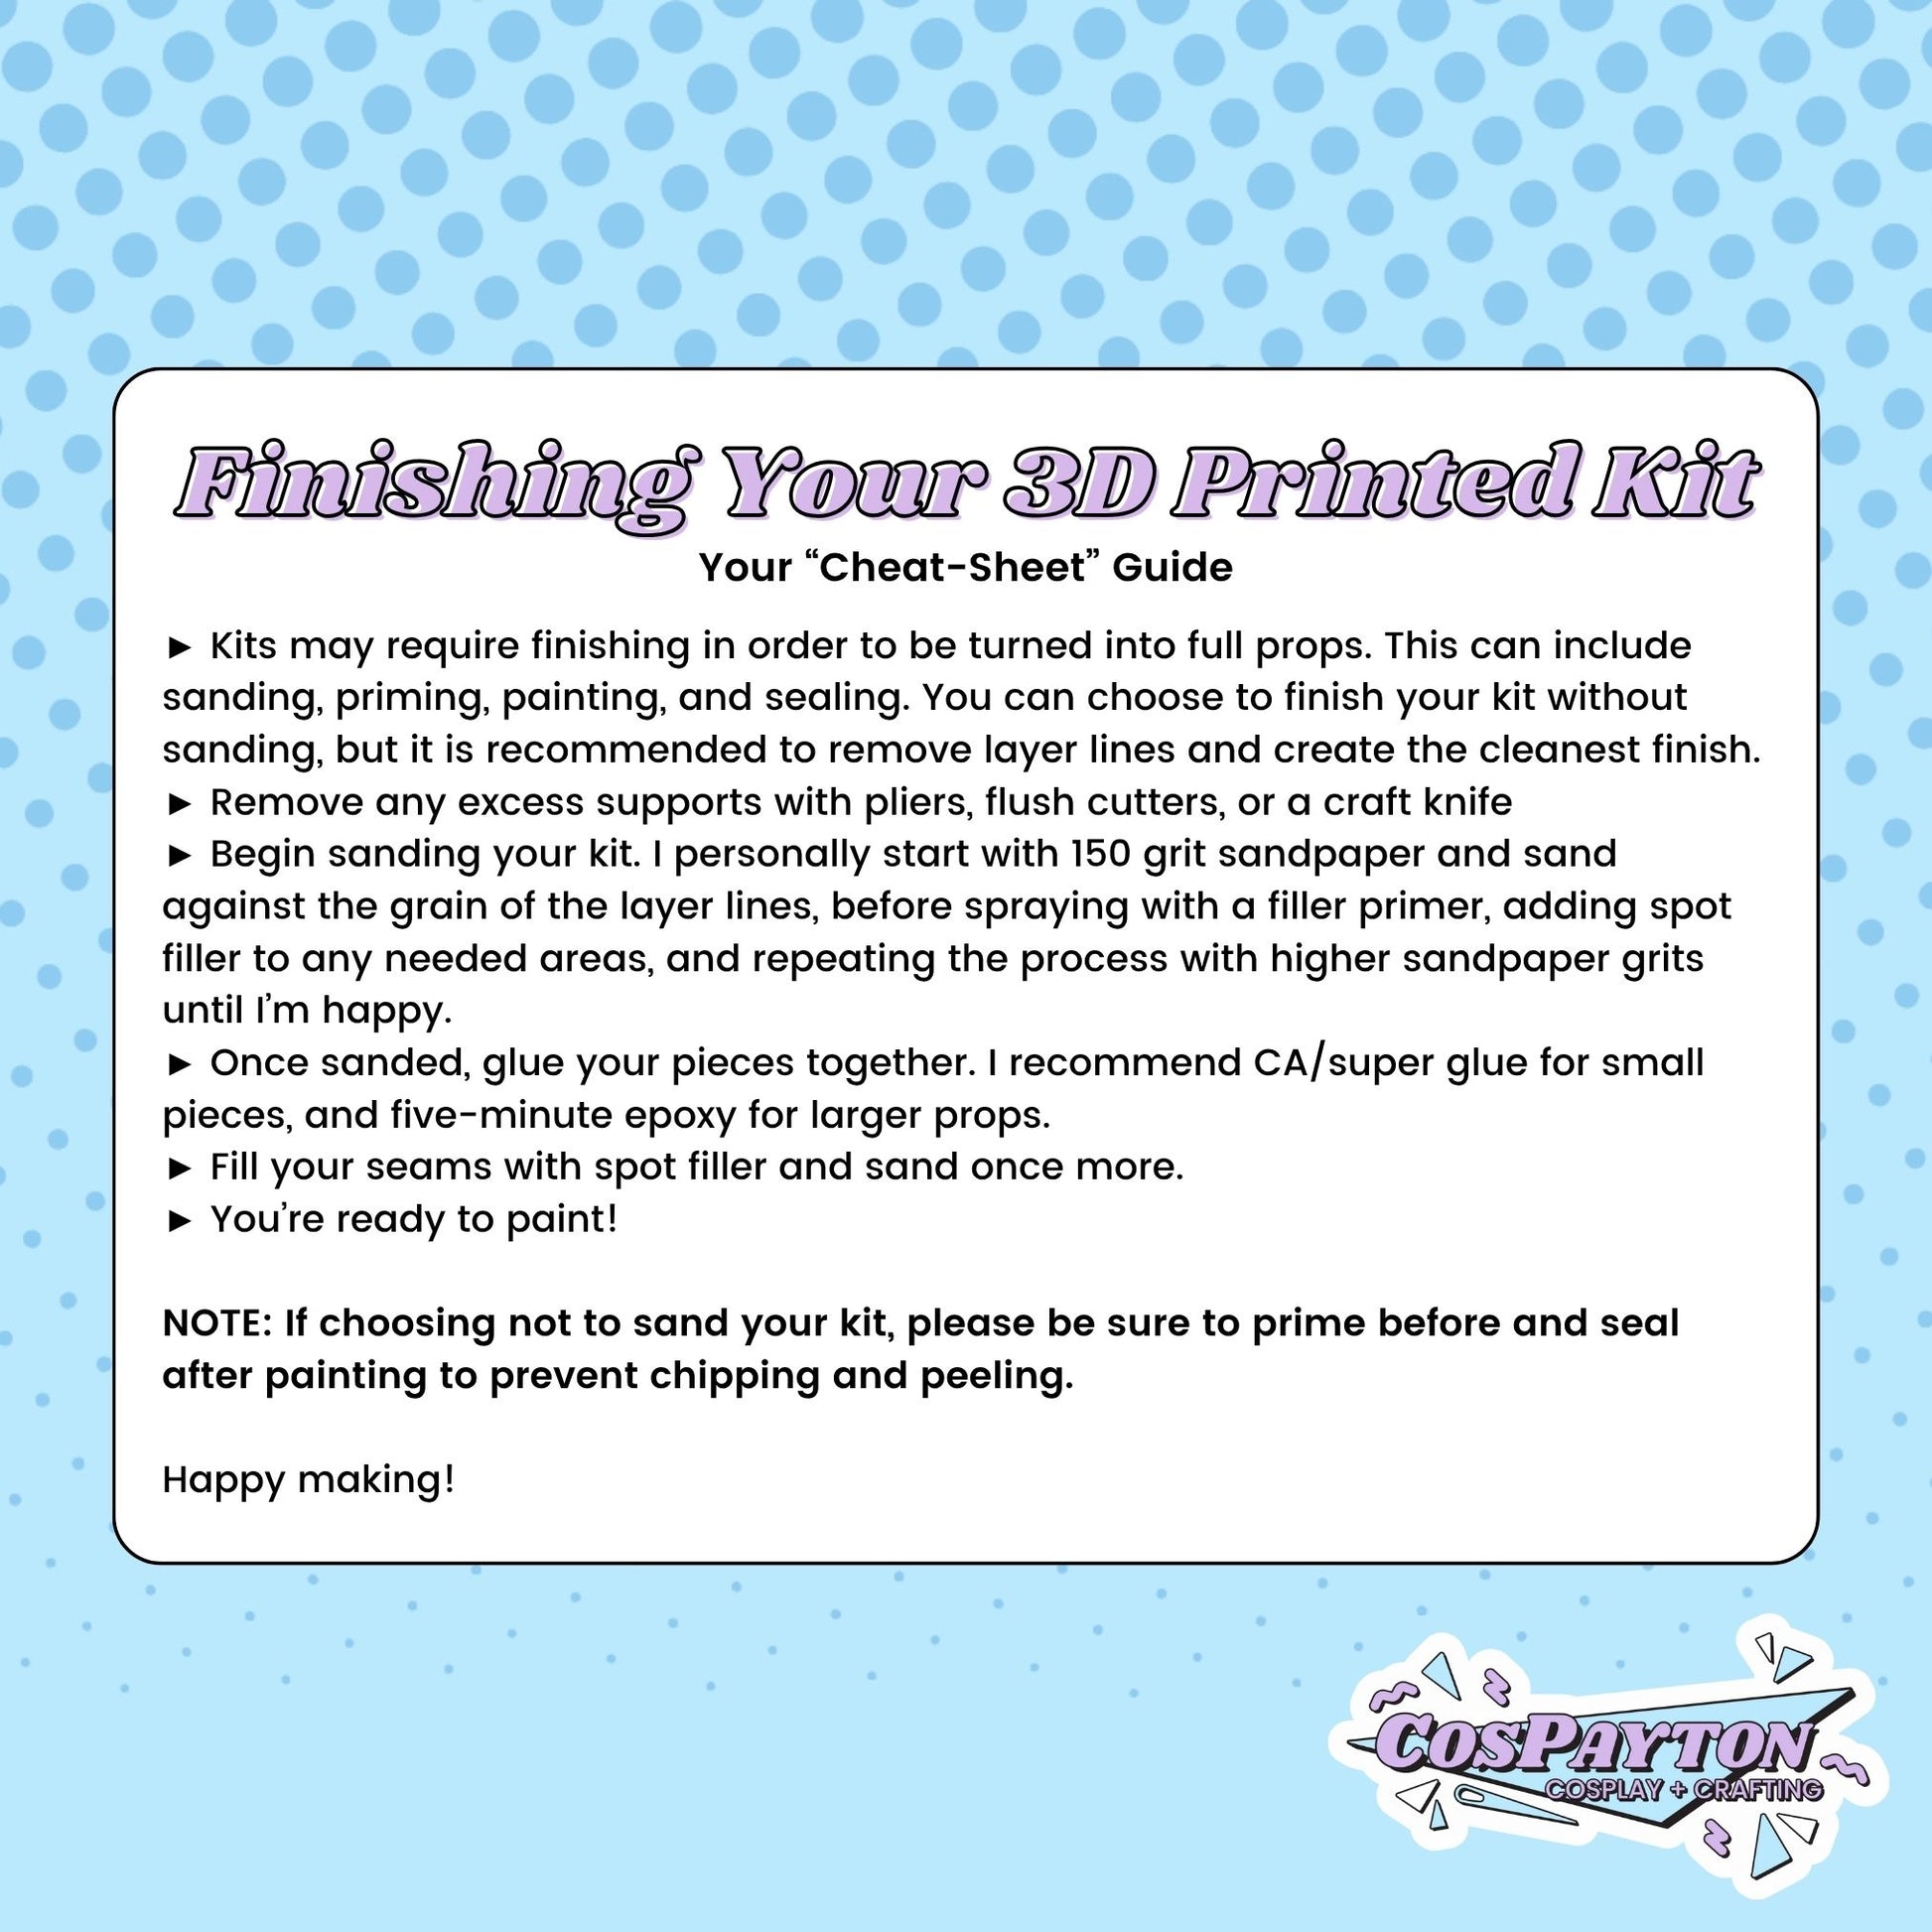
► Kits may require finishing in order to be turned into full props. This can include sanding, priming, painting, and sealing. You can choose to finish your kit without sanding, but it is recommended to remove layer lines and create the cleanest finish.
► Remove any excess supports with pliers, flush cutters, or a craft knife
► Begin sanding your kit. I personally start with 150 grit sandpaper and sand against the grain of the layer lines, before spraying with a filler primer, adding spot filler to any needed areas, and repeating the process with higher sandpaper grits until I’m happy.
► Once sanded, glue your pieces together. I recommend CA/super glue for small pieces, and five-minute epoxy for larger props.
► Fill your seams with spot filler and sand once more.
► You’re ready to paint!
NOTE: If choosing not to sand your kit, please be sure to prime before and seal after painting to prevent chipping and peeling.
Happy making!
- Human-Made
- By and for Cosplayers
- No Gen-AI


the printing quality is very good and the parts are fitting well together.
I wish the inside was leaving space to put some lights inside but overall very satisfied with my purchase
needed this to go along with my baby saja cosplay. very easy to paint and assemble. received a lot of compliments at an anime convention
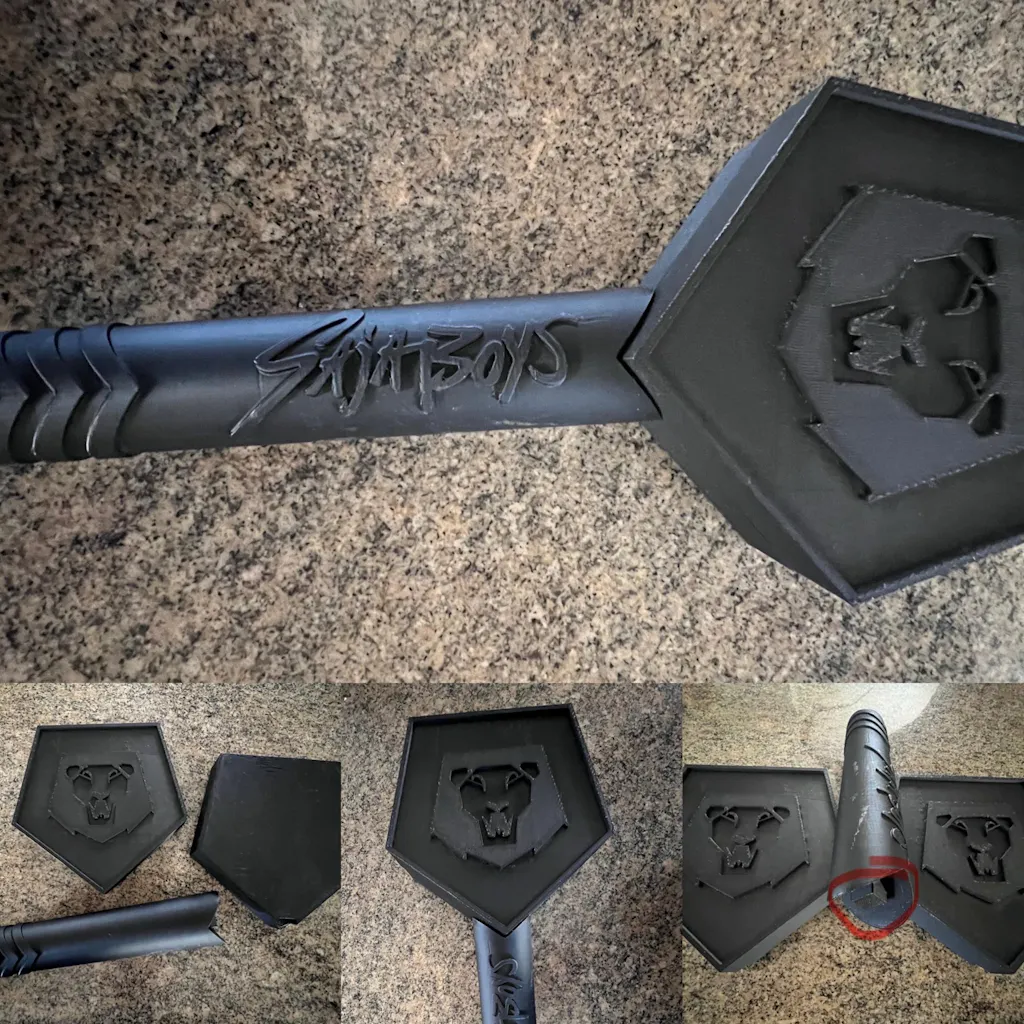
Excellent seller! I ordered this 3D printed 3 piece KPDH Saja Boys faux “lightstick” as soon as it was available. I chose the color black. Seller wrote specifics on their page that it would be unassembled and need more “cleanup” when it arrived. The two mirroring pieces will need to be sanded to fit flush against each other. I'll be using super glue to put all of the pieces together. I do wish the connector piece (circled in red in photo) coming out of the handle was a bit longer and the place it goes into a bit deeper. I'm not a 3D printing expert so I have no idea if this is even possible. Very happy with my purchase-can't wait to get started on colorizing it. Thanks!
ITS SO GOOD IN QUALITY I LOVE IT
Great product! Can't wait to piece it all together