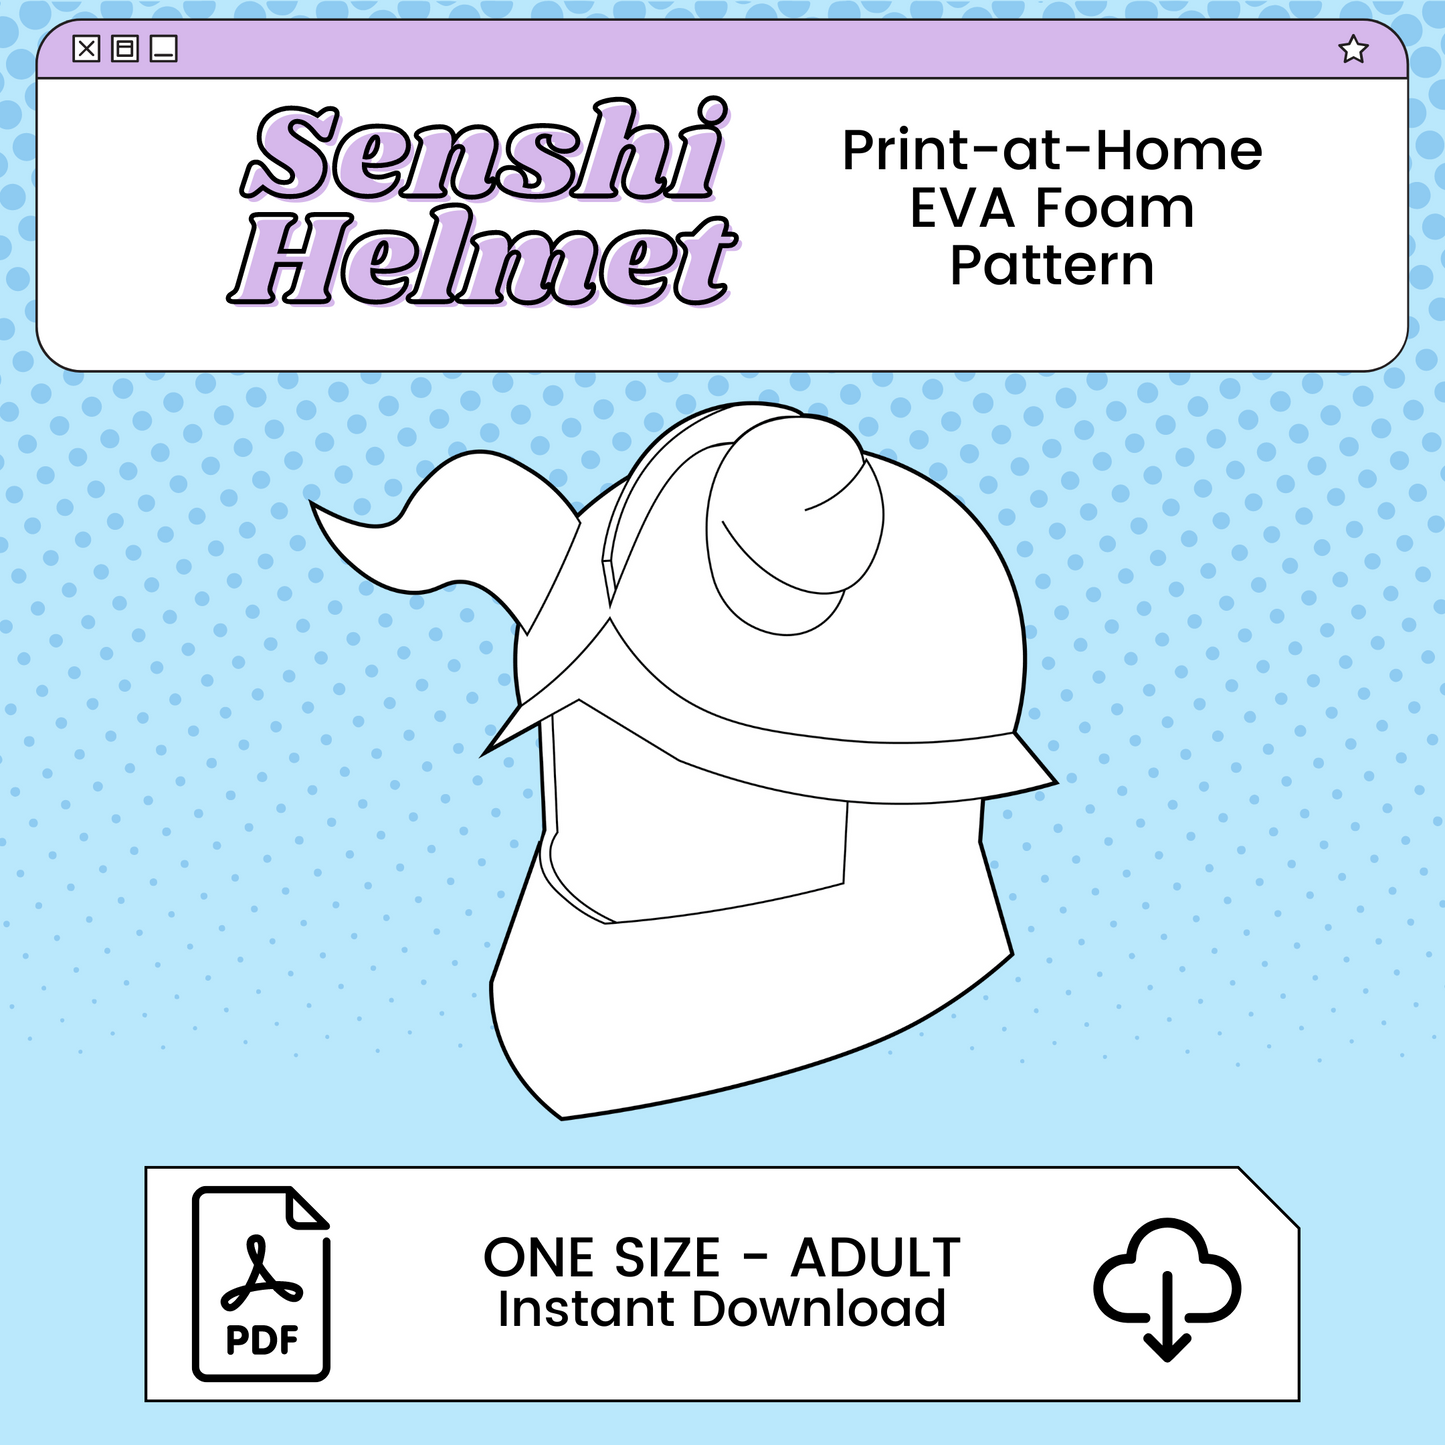
Senshi Helmet PDF EVA Foam Cosplay Pattern | Delicious in Dungeon/Dungeon Meshi Inspired Printable Costume Pattern
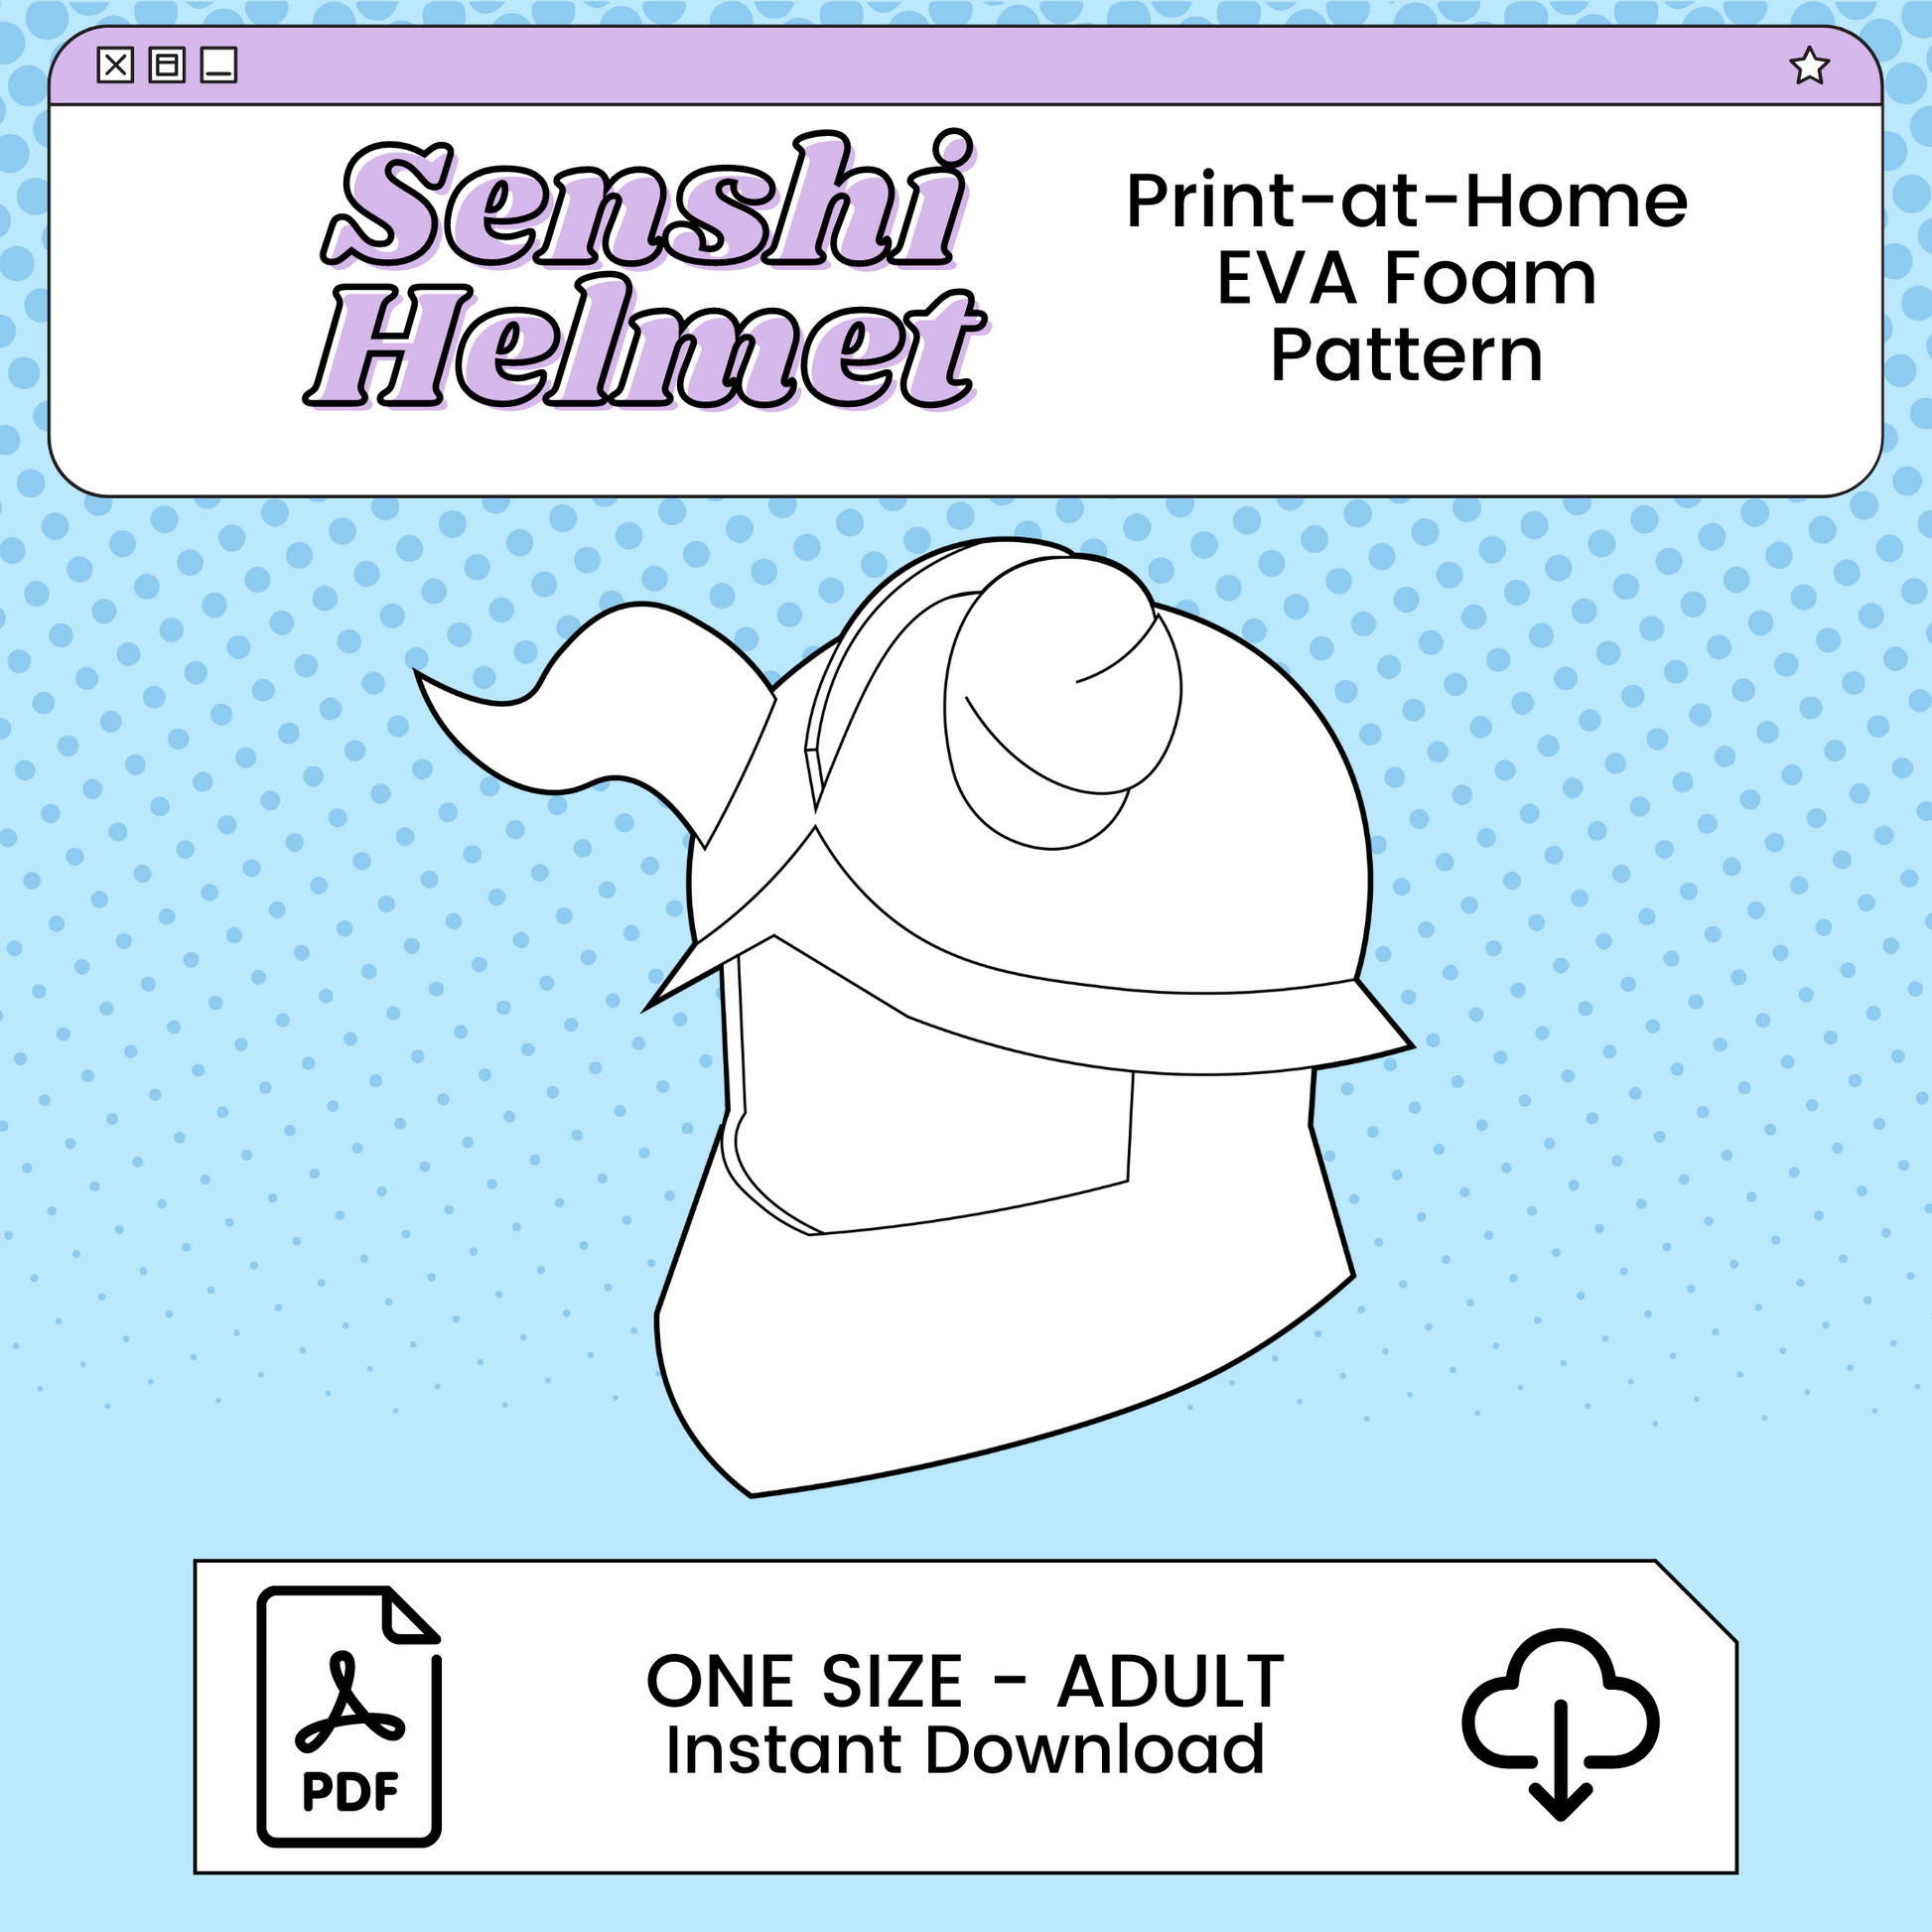
Skip drafting your own patterns and get everything you need to craft your own cosplay inspired by Senshi from Dungeon Meshi / Delicious in Dungeon!
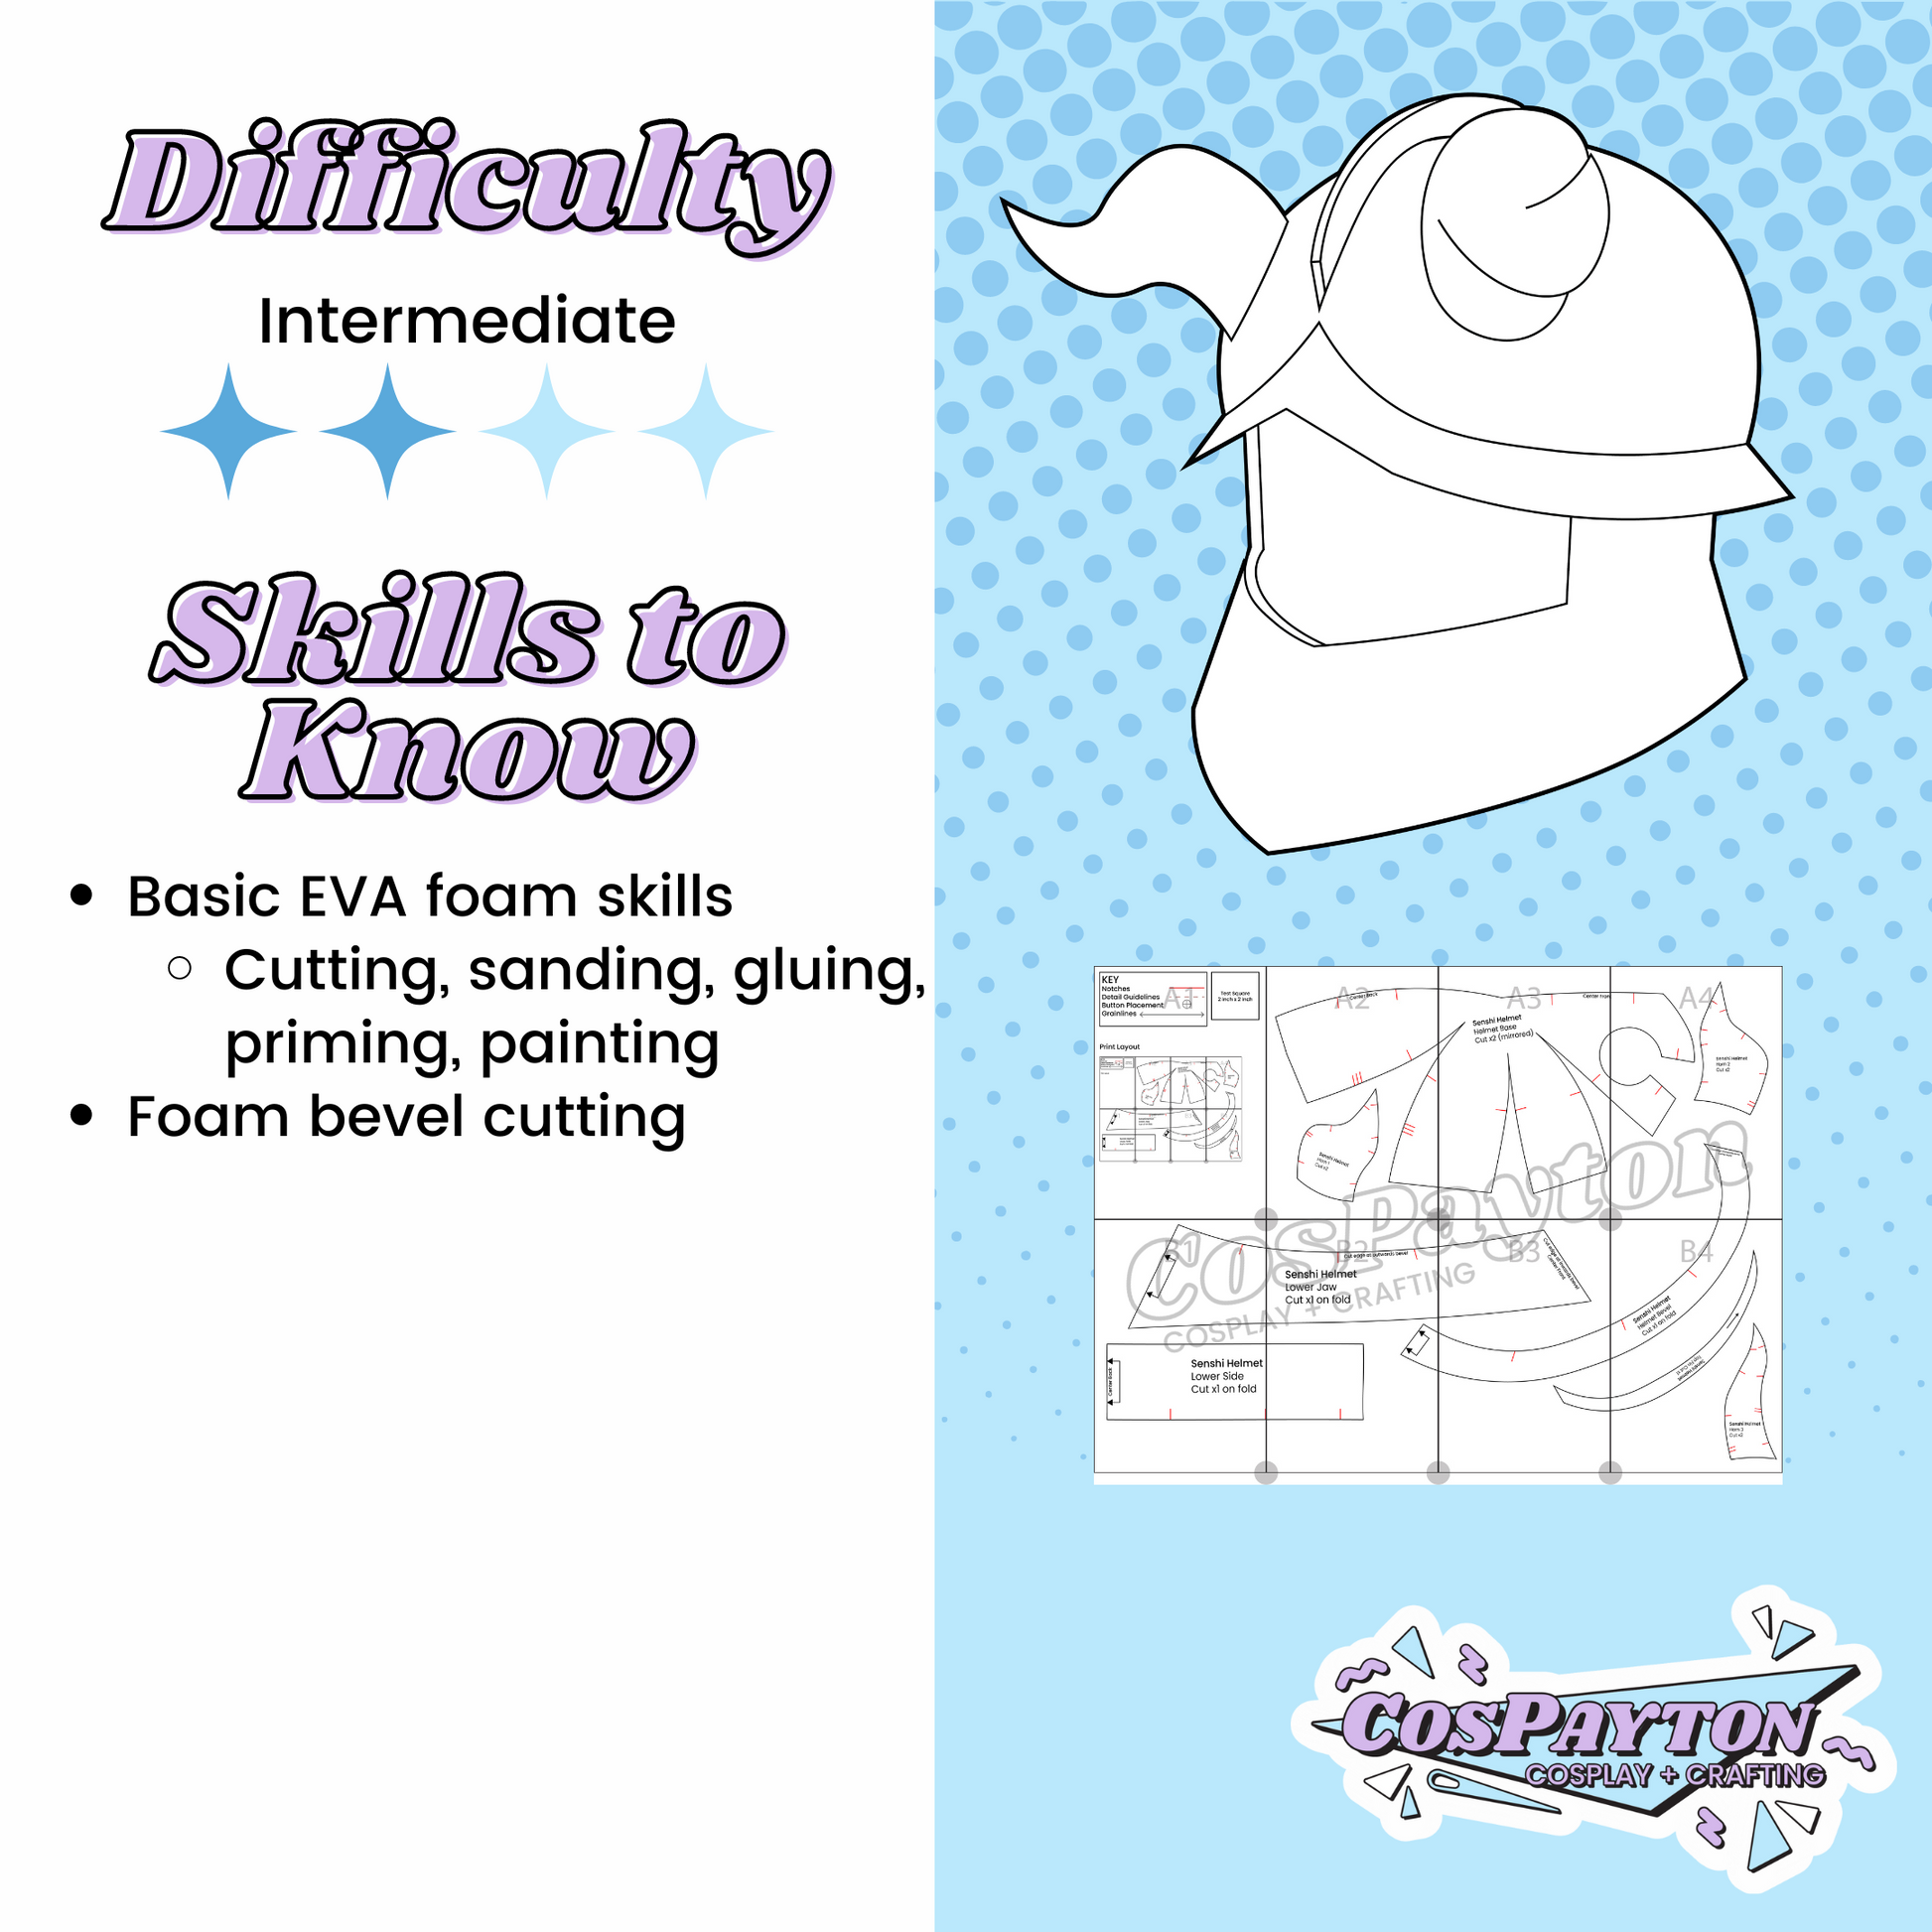
Included with your purchase of this pattern are PDF EVA foam patterns for his helmet
✦ WHAT YOU GET:
► A PDF file containing a link to the instant downloads of your pattern. Patterns are divided by paper type and clothing size. Only print the size you need. No nested patterns are provided.
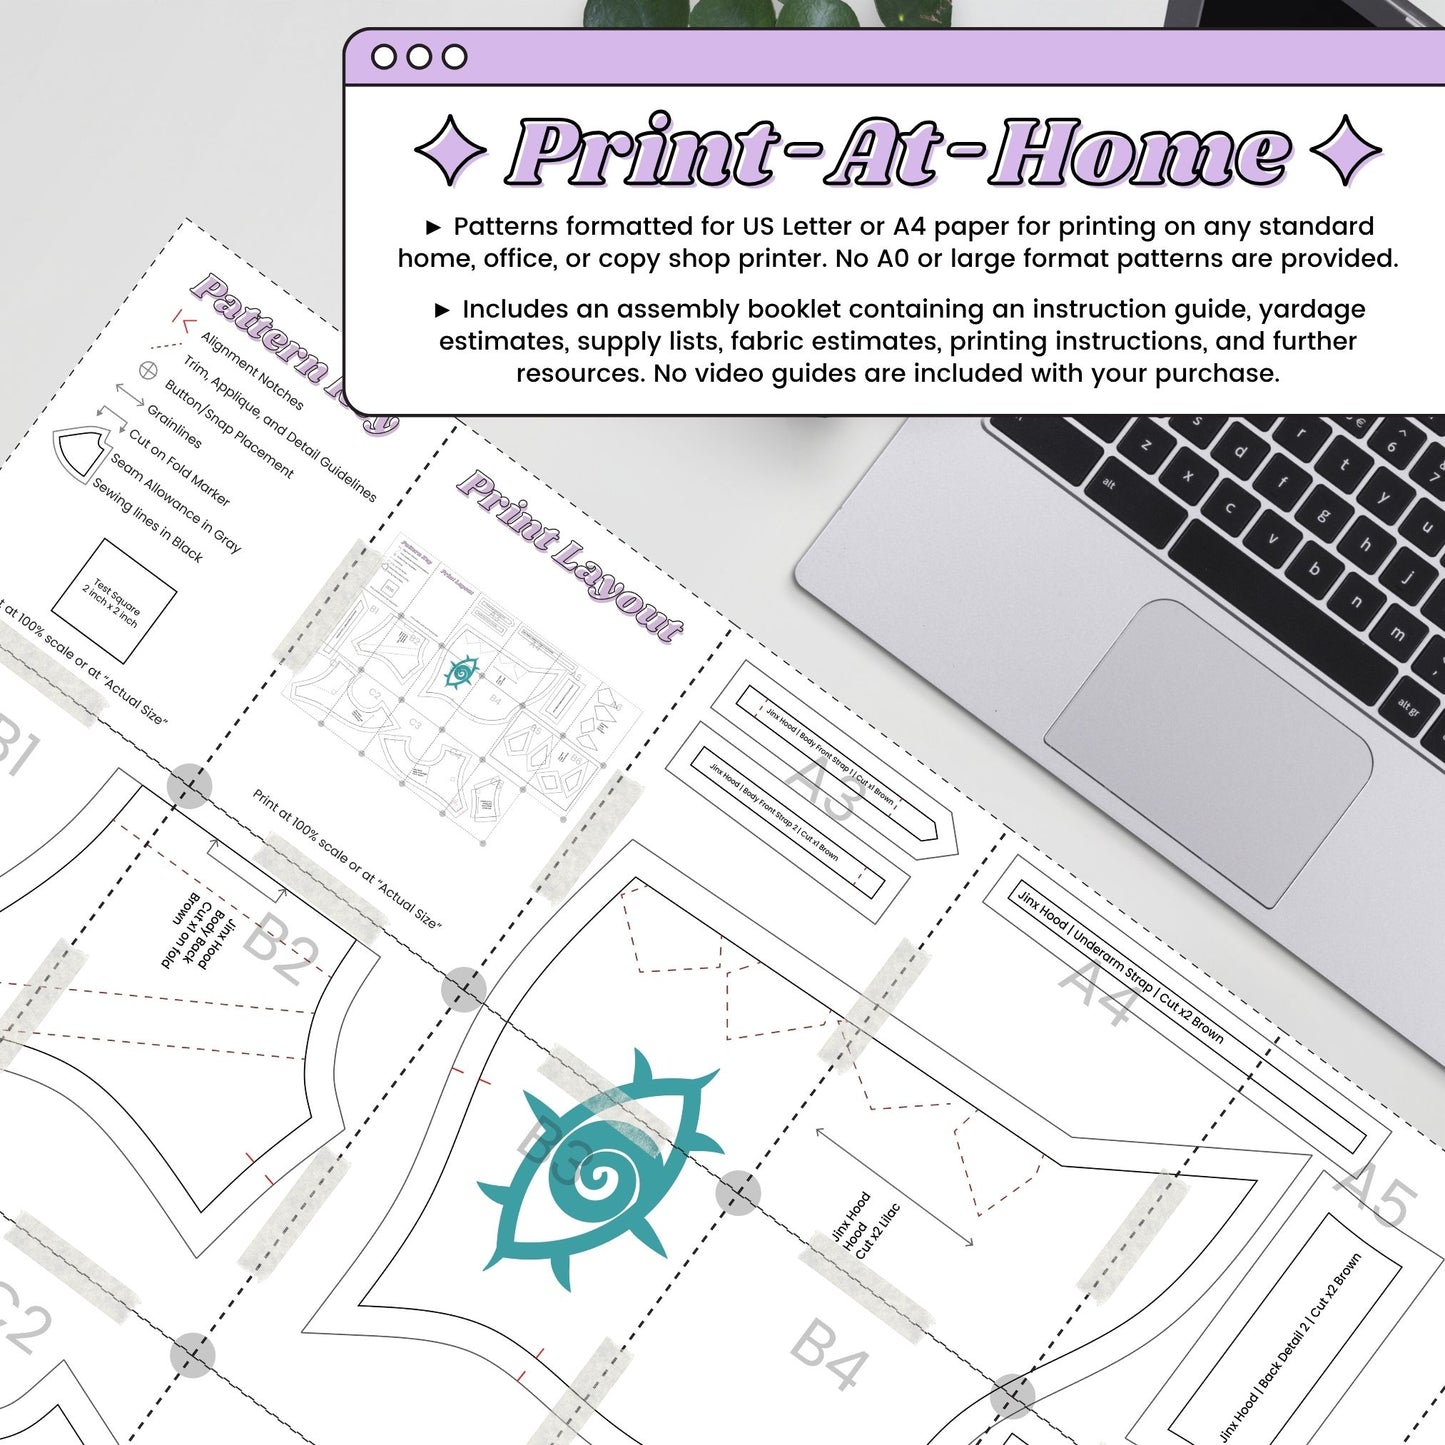
► Patterns are formatted for US Letter or A4 paper for printing on any standard home, office, or copy shop printer.
► An illustrated booklet containing an instruction guide, material estimates, supply lists, printing instructions, and further resources.
► All instructions are written in English and use US measurements (Inches, feet, and yards.) Prior experience with EVA foam is always recommended
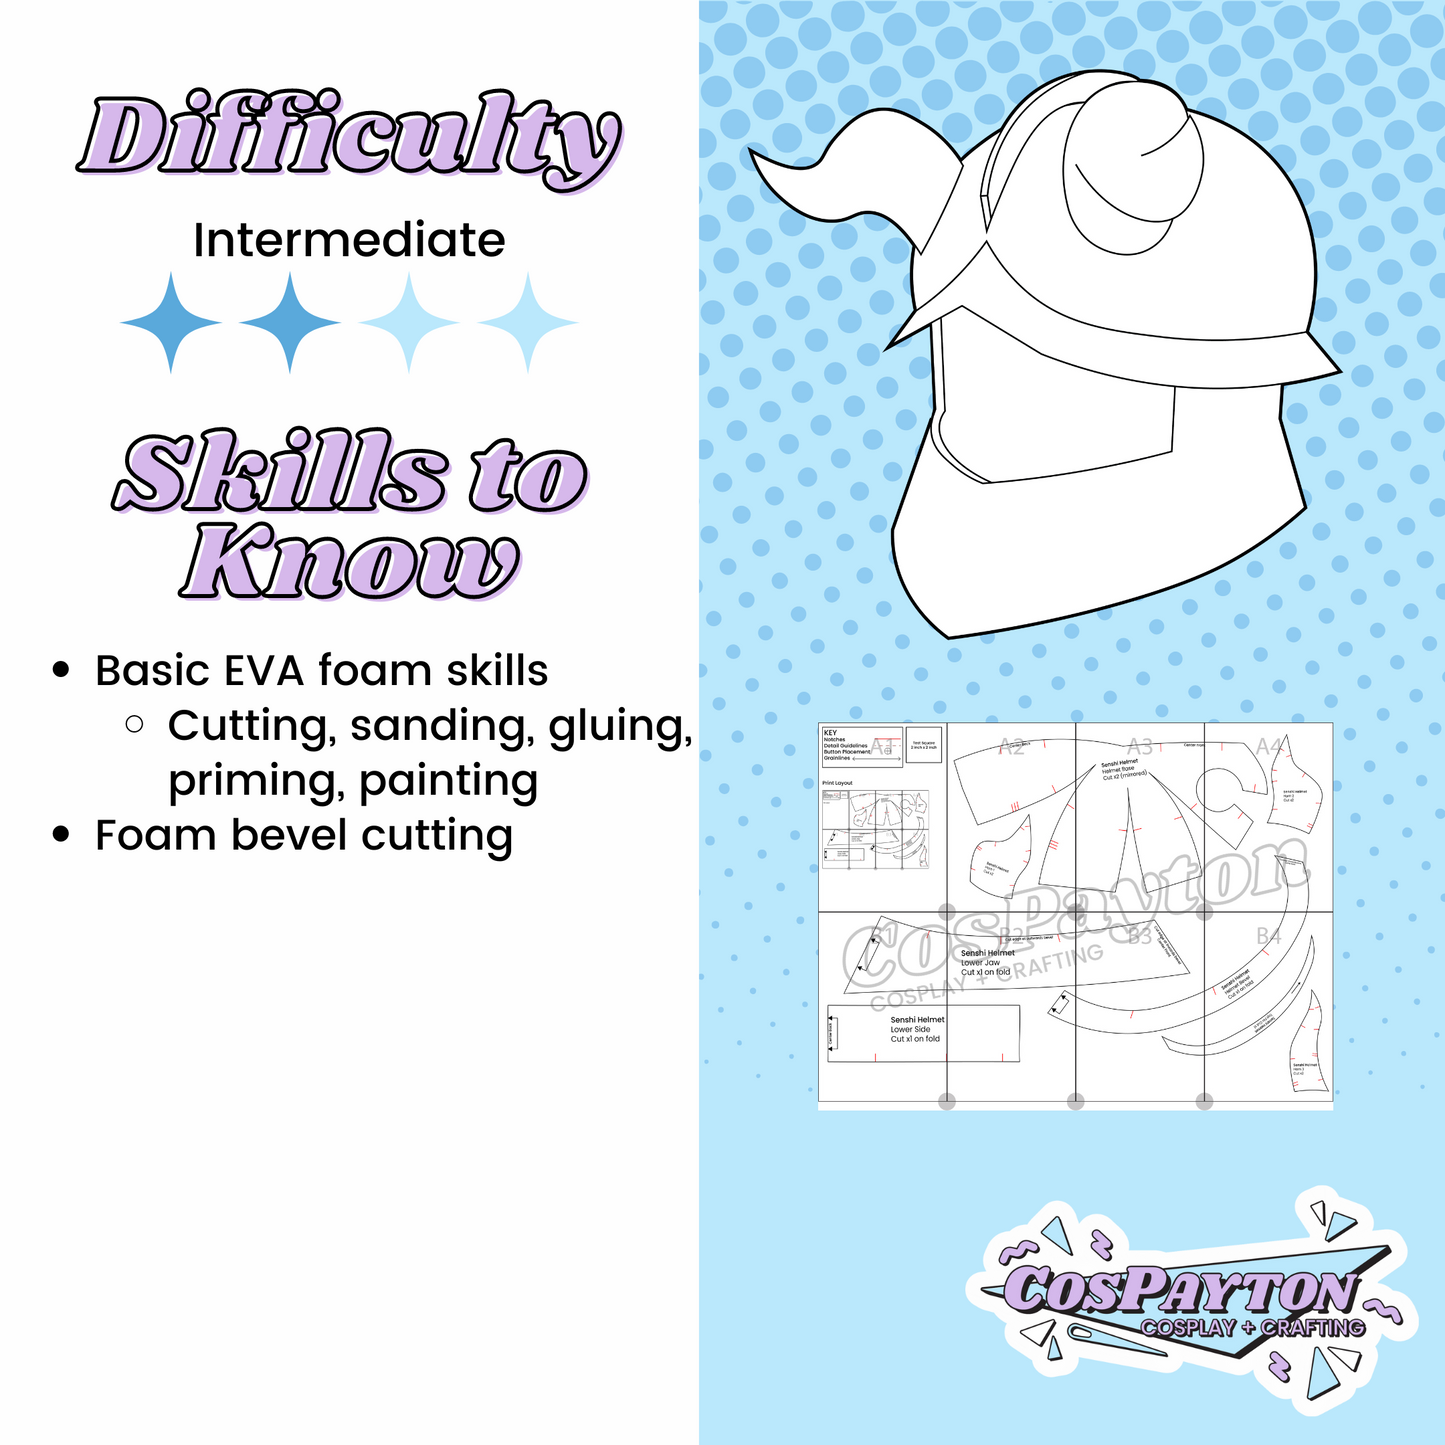
Difficulty: Intermediate
✦ PLEASE NOTE:
► You are purchasing a digital good, meaning no physical item will be mailed to you.
► All digital goods are non-exchangeable and non-refundable. Please ensure you read the entire description before purchase, as exceptions are not made.
► Patterns are for personal use only. This includes one-off usages by individuals for commissions, not by larger companies or workshops.
►Please contact me for commercial usage rights, which are offered for an additional fee on a case-by-case basis.
► My files may not be resold, redistributed, or reproduced without my express permission.
NOTE: Print-at-home patterns take a lot of paper. My patterns range from 20-120 pages when printed, with the number fluctuating based on complexity.
Any questions can be sent to me on Etsy or at cospayton [!at] gmail.com
Pattern is well layed out. With good instructions. It is very large. I am 6'5" 300lbs and it is huge on me. But it is a good build.
As a first time digital pattern and foam Helmet maker. Putting the pattern together was easy! The directions was easy to understand and I was happy with the outcome. Will buy other patterns for future cosplays
The only thing that confused me (im still kinda new to foam) was the instructions when it said "cut x1 on fold" i didnt realize it meant to flip the trmplate and continue the transfer as one long piece.. even though the instructions stated it after reading it a couple times.. a broken line or something would have been a cue to trace to foam differently. Just a little hiccup lol
Also, perhaps the horns could use an instruction for thinner foam. The 6mm was very hard to form the horns.
Otherwise, it turned out great and some soft furniture foam lining the inside was
used to fit it to my son's head. Fun project
Thank you for this template!
Disclaimer: I used cardboard to build my helmet.
I loved the pattern. Even as someone who has never worked with patterns before, I could understand it well. It makes a good helmet.
Here are some notes I wrote down while working:
- You can make this out of cardboard if EVA foam is not on hand! Which I think is cool.
- The helmet is bigger than you would expect and not fitting to the head. This helps when you have a beard and wig but just make a paper pattern to see how it fits first and if you want to make adjustments for your needs.
- When putting the horn patterns together, make one horn mirrored. This helps the look of the helmet since they'll point in opposite directions and be more like the original (if they point in the same direction it will be e.g. your horns all pointing to the right, which isn't as aesthetically pleasing as having it mirrored).
- For joining the base pieces together don't cut out the dip at the top (I don't know if this is different for EVA foam). It leaves a gap at the top of the helmet. Instead, just cut straight then continue the curve, or find a way to fill the gap.
- I made my helmet bevel wider than the pattern to balance out the look for myself.
- If you keep the helmet as separate jaw and head pieces, as mentioned before it is big and will slide around. You can either add a way to slot the pieces together or you can use a strap (like how biking helmets have straps) to tie the top to your head. Or just join the pieces together as the pattern instructs.
- Note that the A4 size pattern is labelled "Senshi Horns - A4". Not a big deal but had me confused for a hot minute.
Otherwise, it's at a good price and allows you to make a solid piece. I would recommend it.
Hi, thank you for this pattern, it was very helpful and saved me a lot of time prototyping and all.
I just have a tiny "but" to write : I wish you wrote "Cut x2 mirrored" for the Lower Jaw, Lower Side and Helmet Bevel instead of "cut x1 on fold", like you did for the Helmet Base. It would have been clearer (for me at least).
Otherwise it's an awesome pattern, thanks again for taking time to make it, and save us time ! :)